Integrating with ServiceNow
Prepare your ServiceNow instance by importing our custom-made update set, then creating an OAuth endpoint. Once this is set up, you can send your existing apps, servers and databases to your ServiceNow instance. All relationships between these entities will be preserved, and can be viewed in ServiceNow.
This feature is currently available for beta users only.
We currently support syncing of applications, servers and databases with up to 3000 of each record.
Preparing your ServiceNow Instance
Importing the Tidal update set
You can find the Tidal ServiceNow update set here:
-
Sign in to your ServiceNow account with Administrator privileges.
-
Type ‘Update Sets’ in the left side filter navigator.
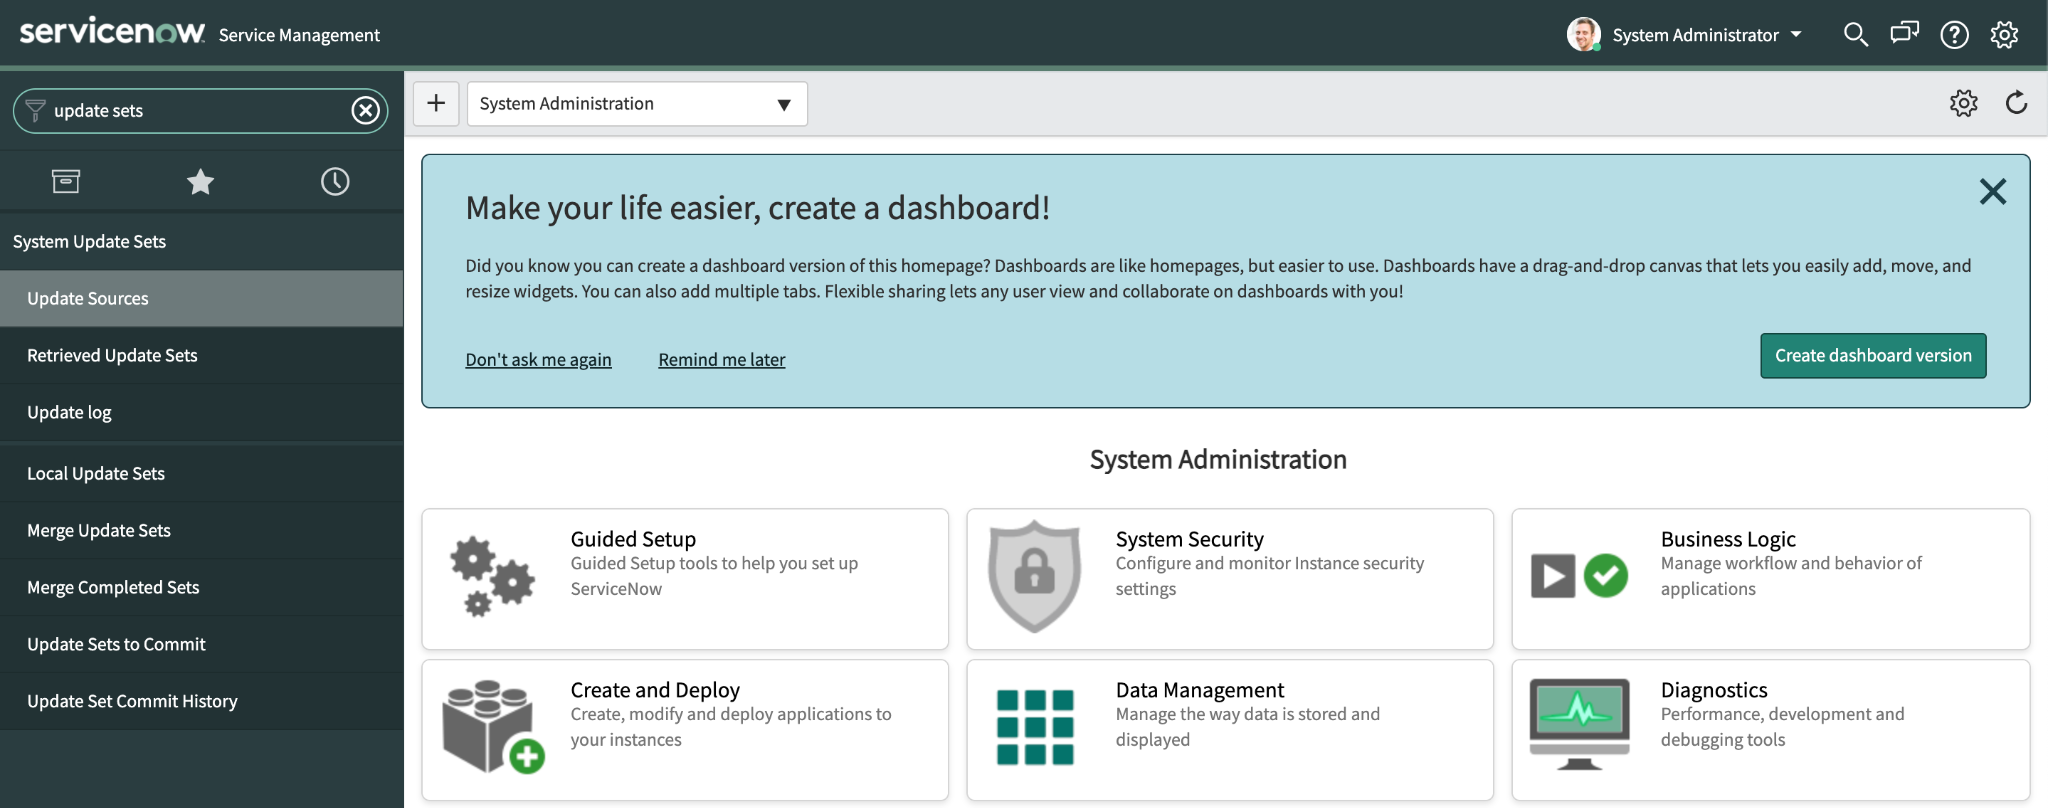
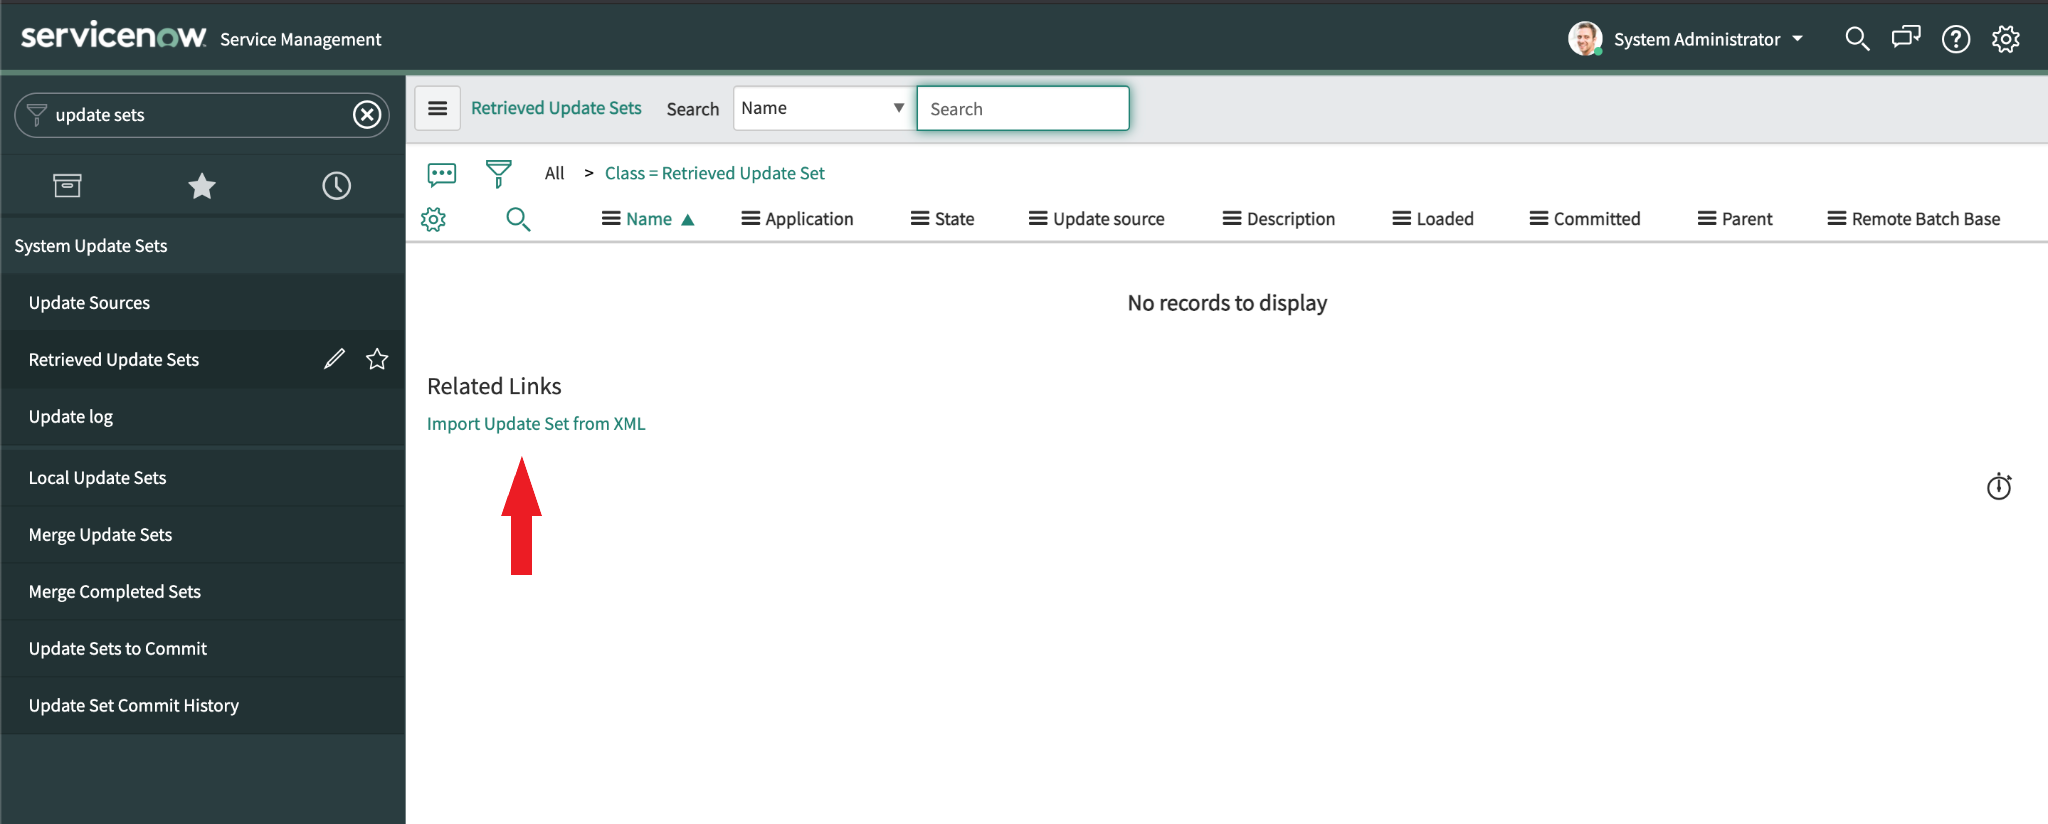
- Click on ‘Retrieved Update Sets’, and under ‘Related Links’ click the link to ‘Import Update Set from XML’.
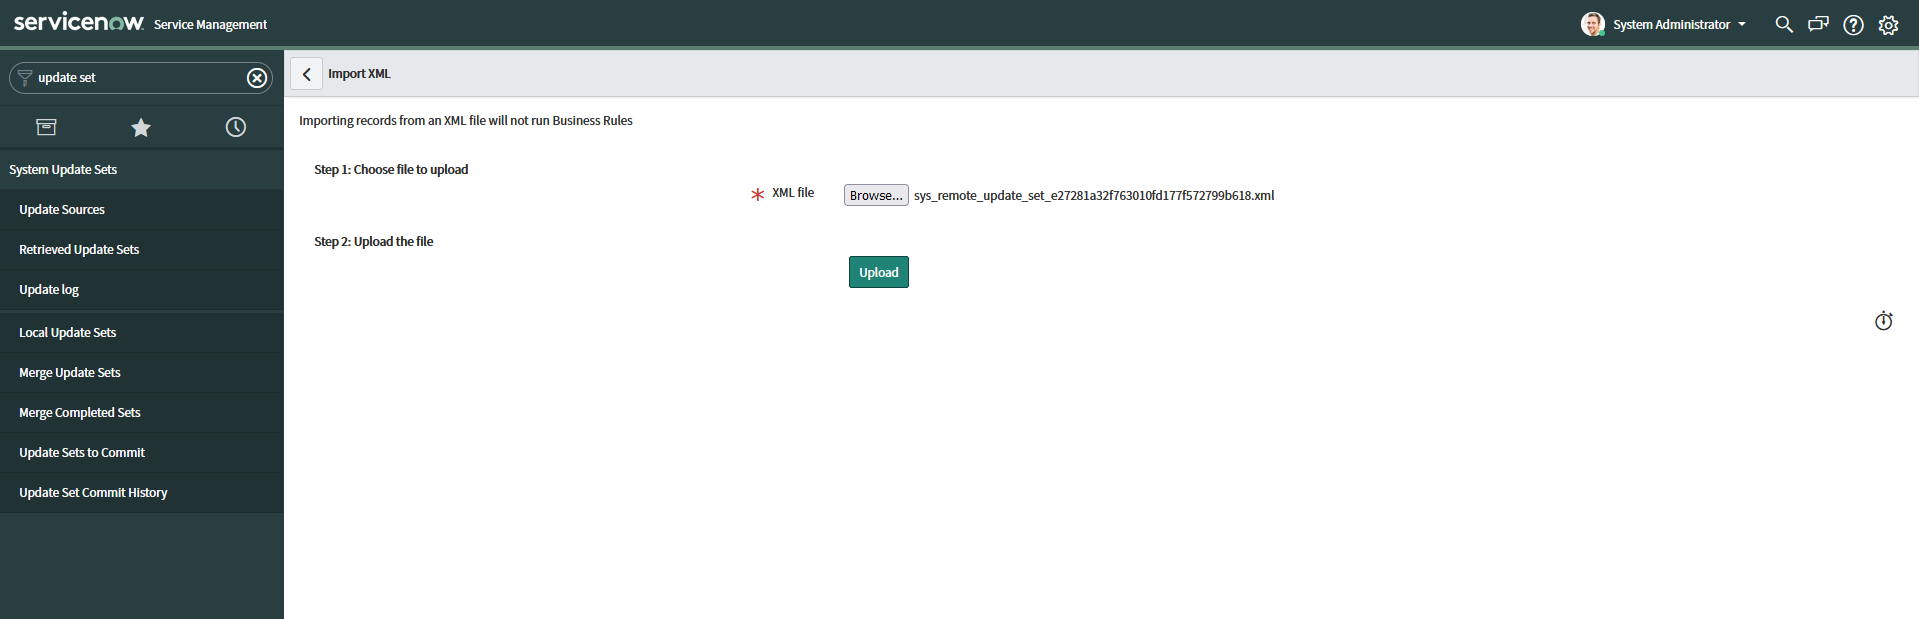
- Click ‘Browse’ and find the update set XML file on your computer. Once this is done, click ‘Upload’.
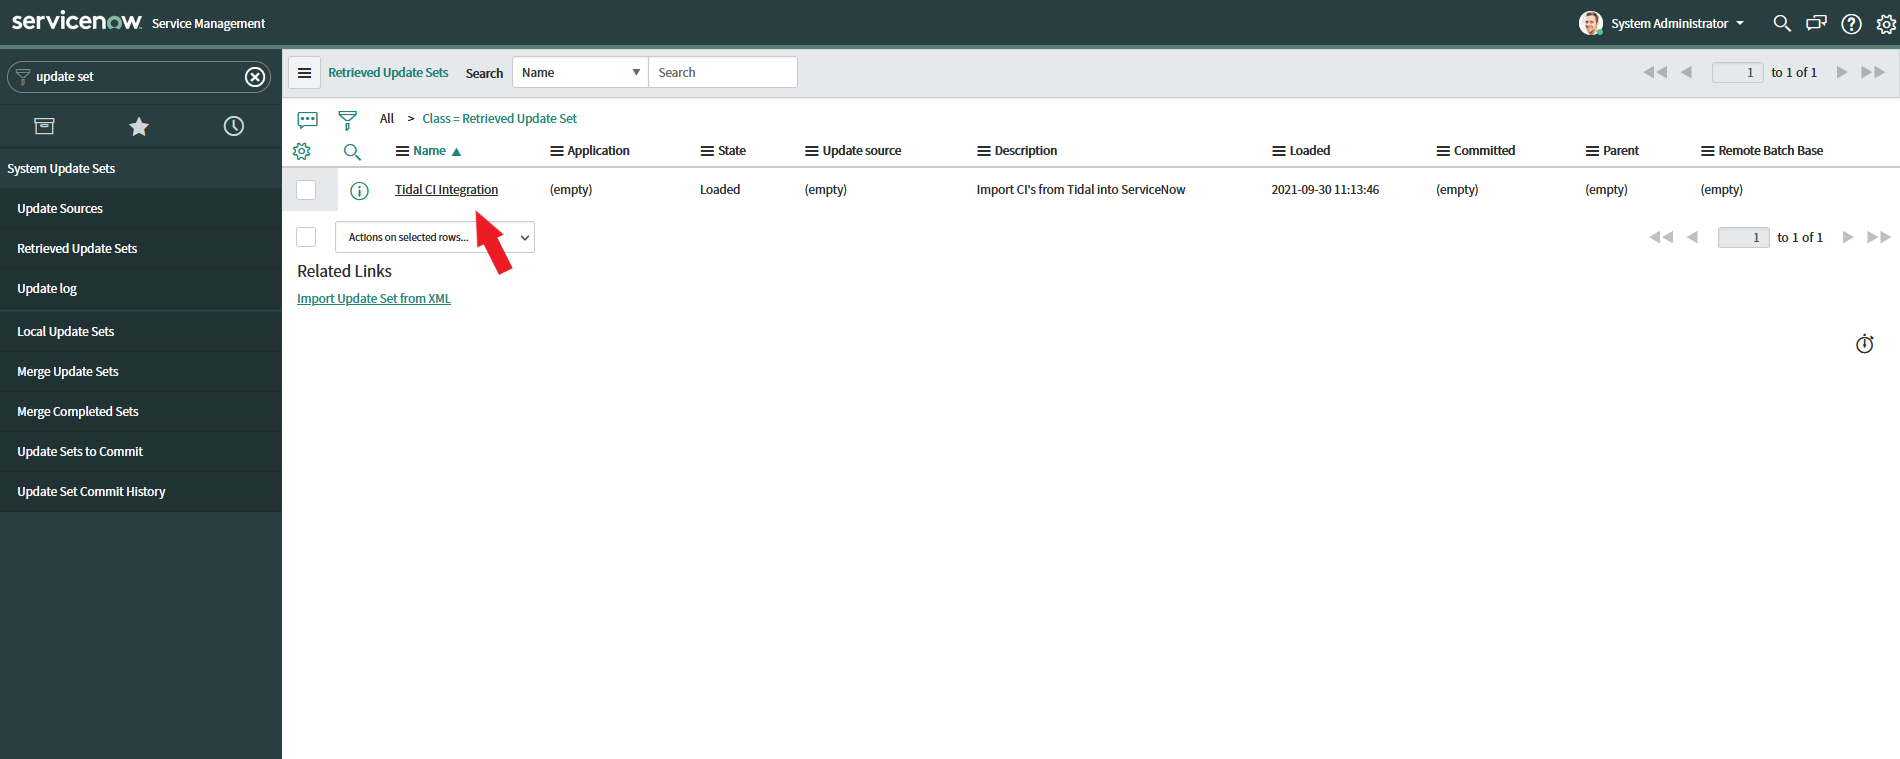
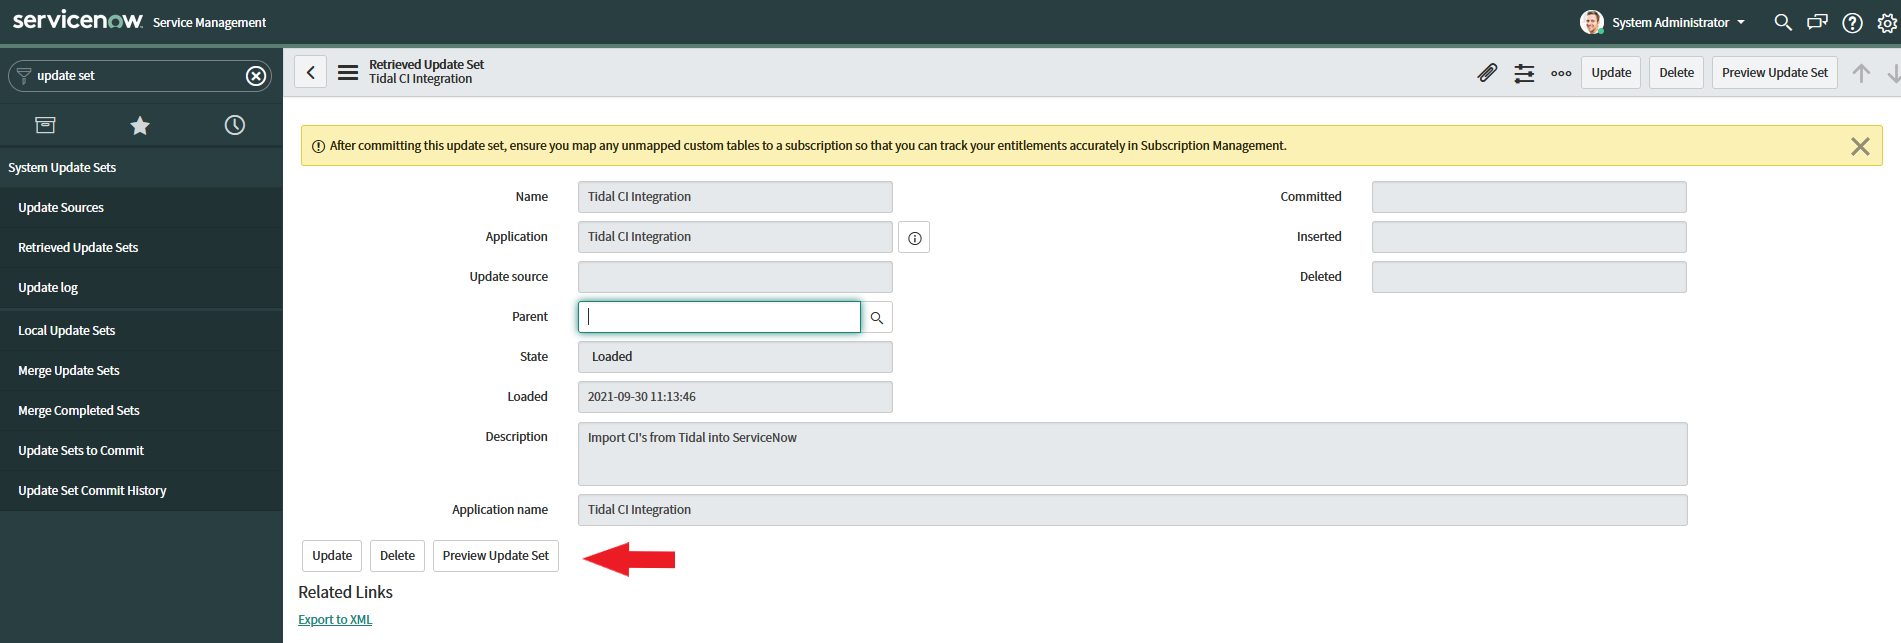
- After this has loaded, click ‘Tidal CI Integration’.
- Next, click ‘Preview Update Set’ above ‘Related Links’. This will take some time to load the update set.
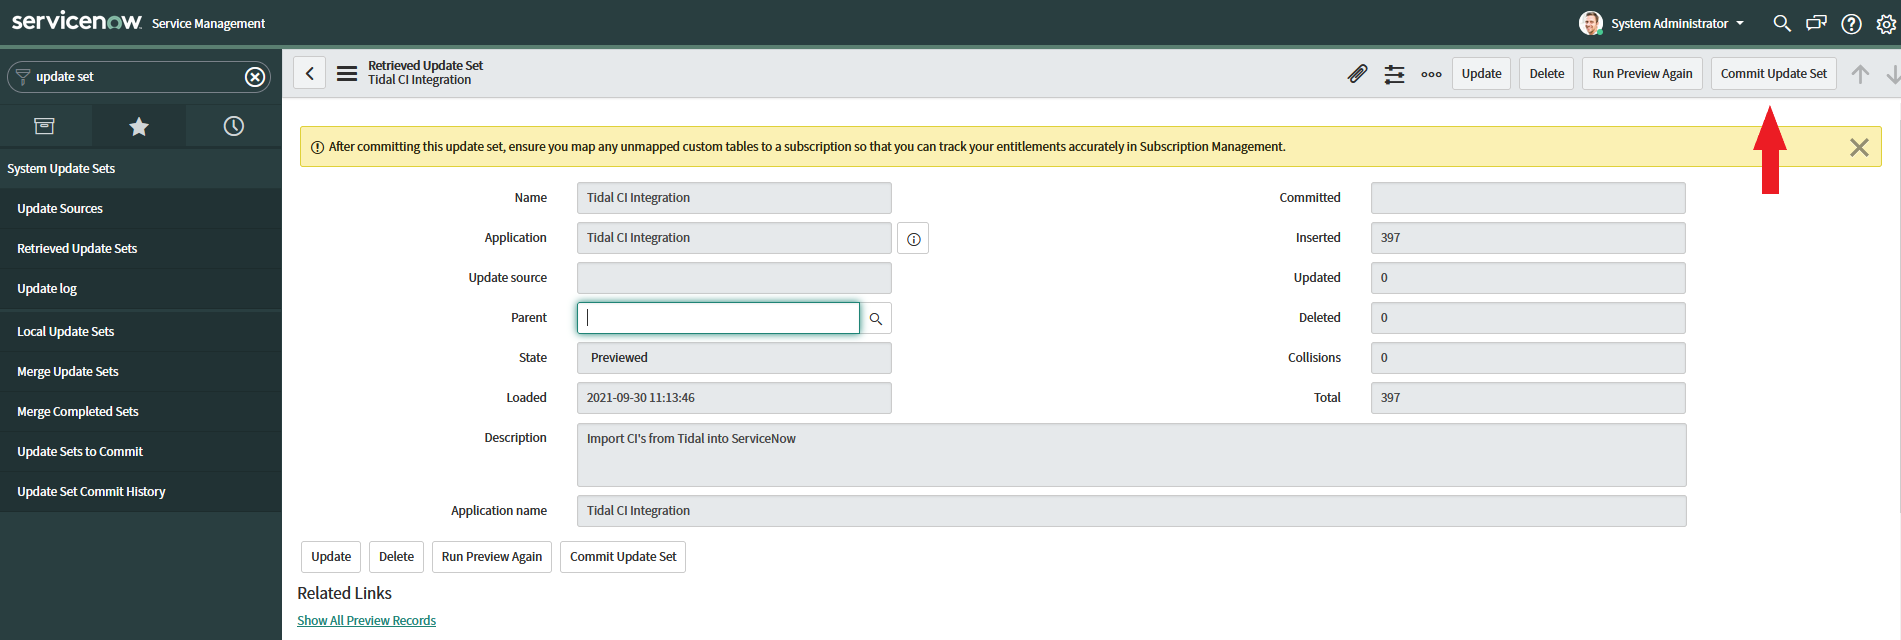
- Once this has completed, close the loading bar and click ‘Commit Update Set’ in the top right corner of the window. This will show another loading bar as your update set is committed. This process should take around ten minutes.
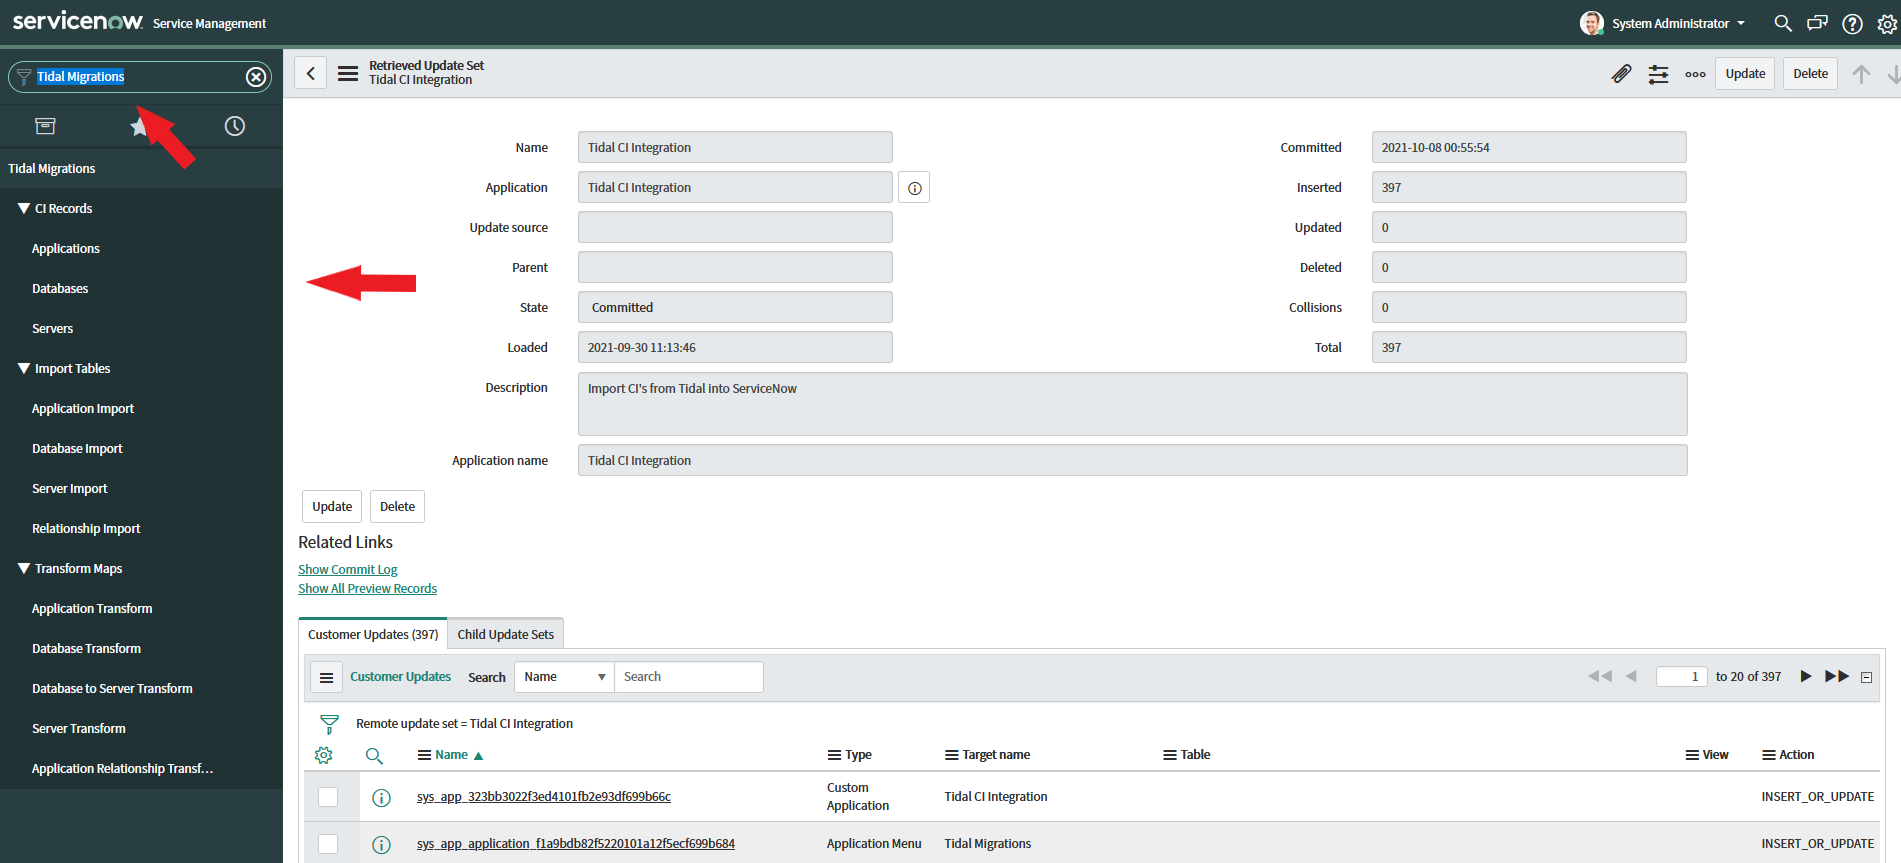
- Once the update set has been committed, you can type ‘Tidal’ in the filter navigation bar, and see where your servers, apps and databases will be saved.
Creating an OAuth endpoint
In order for your Tidal workspace to communicate with your ServiceNow instance, we must first set up an OAuth endpoint.
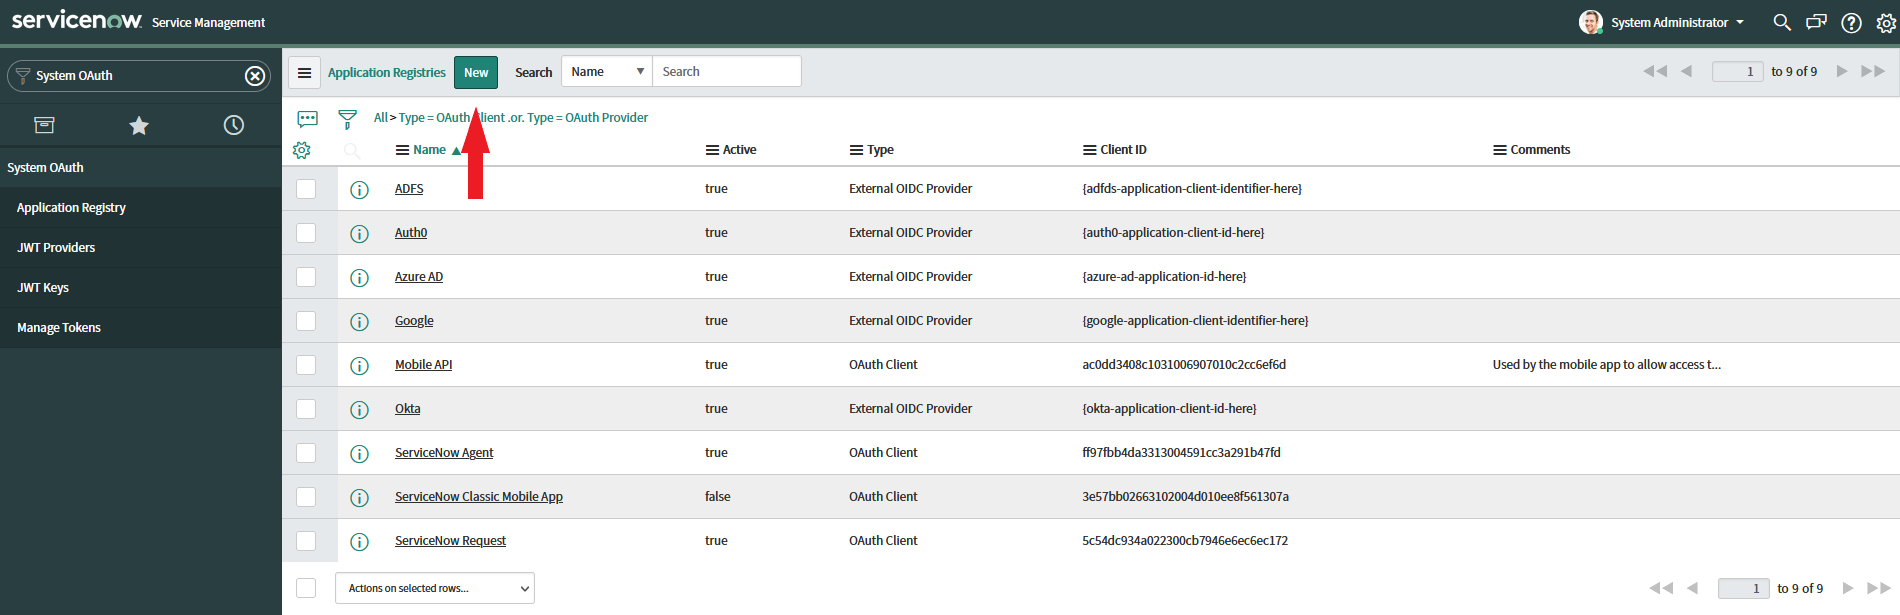
- Type ‘System OAuth’ into the filter navigation bar and select ‘Application Registry’.
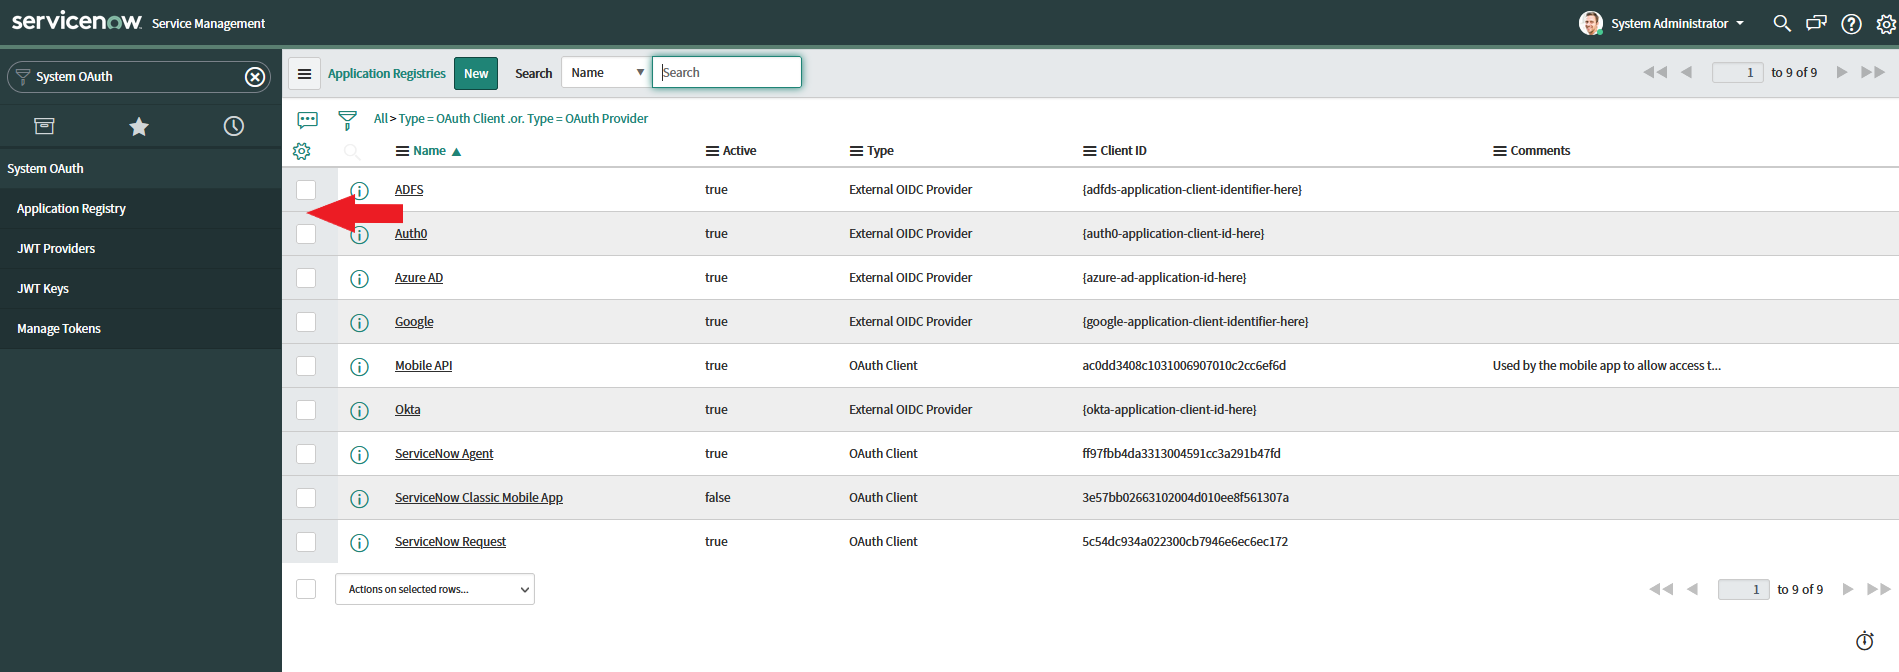
- On this page, click ‘New’.
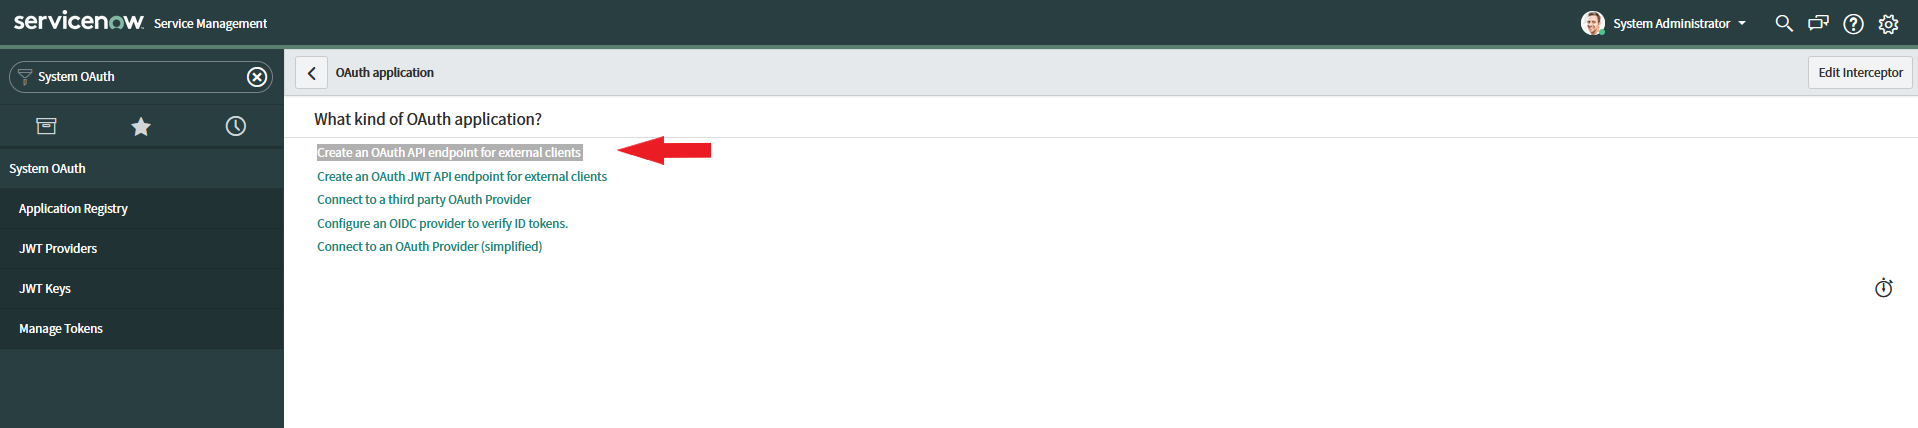
- Select ‘Create an OAuth API endpoint for external clients’.
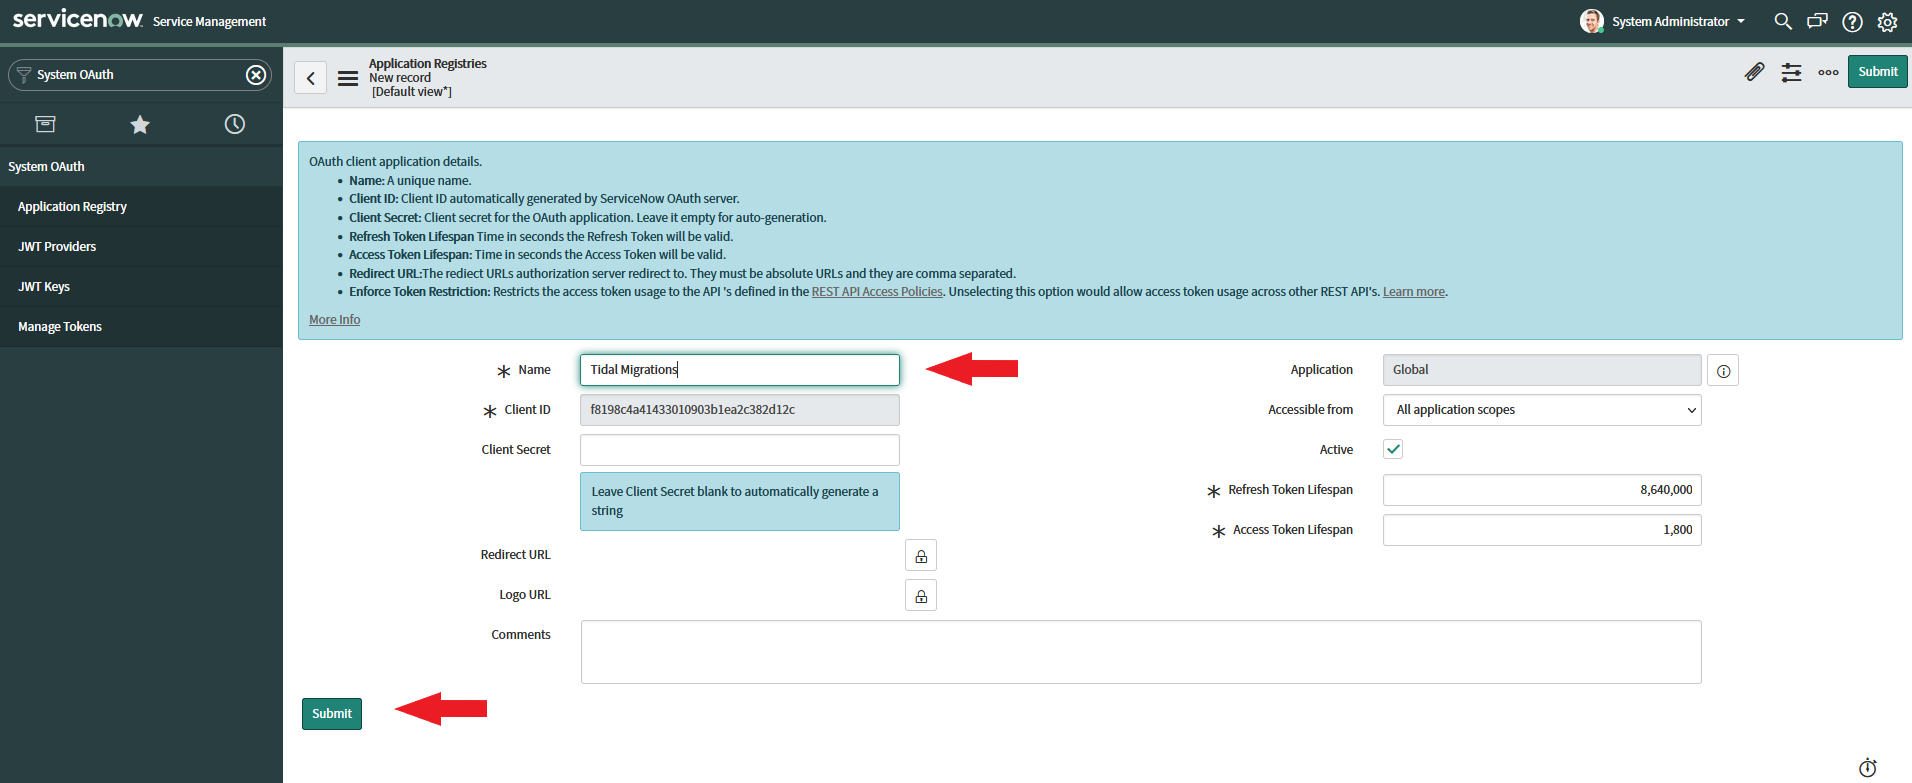
- Enter a name, we suggest ‘Tidal’, then click ‘Submit’.
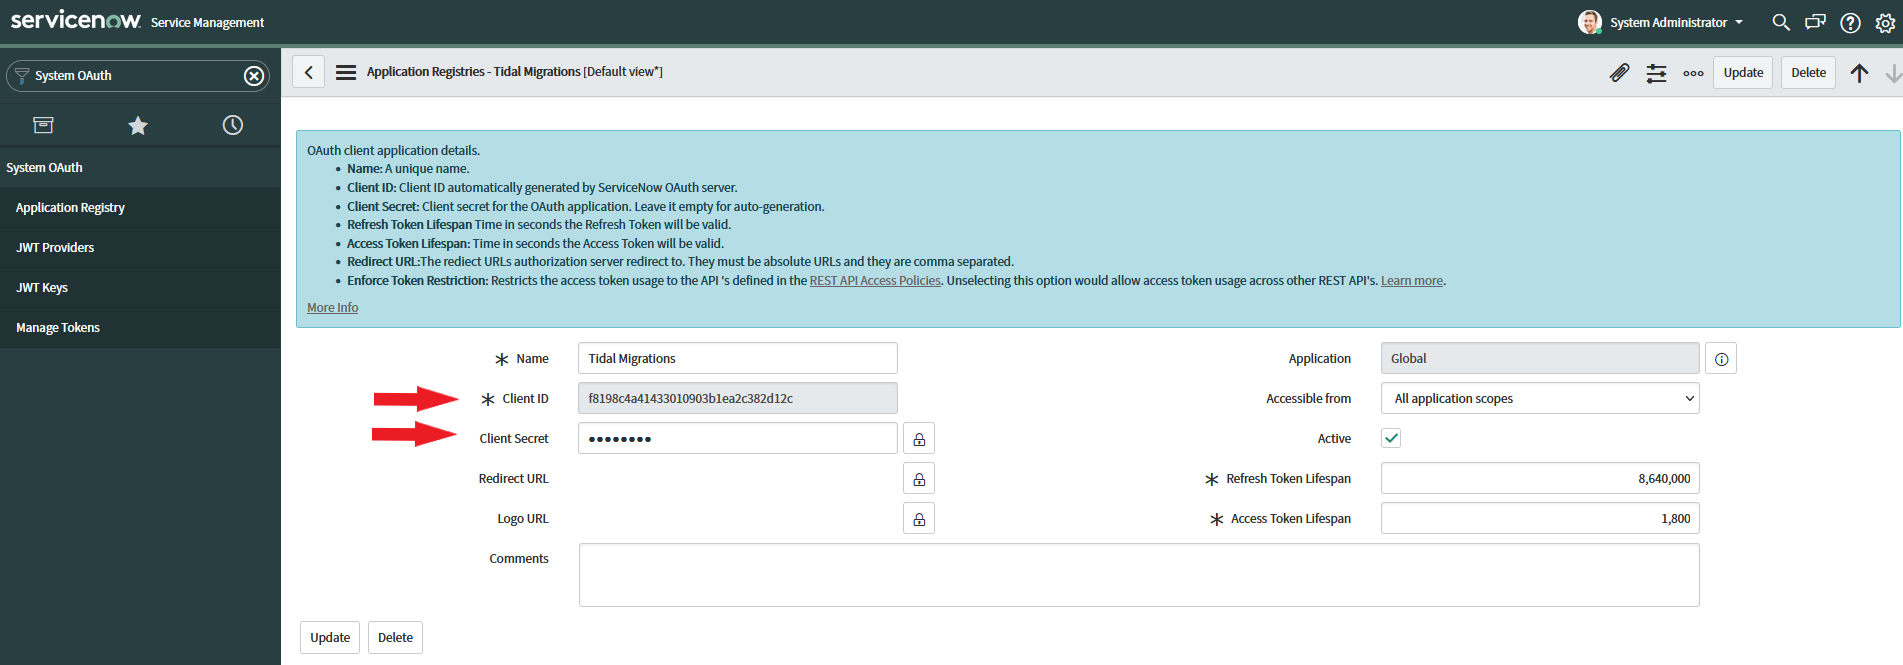
- Select the endpoint you just created (eg. ‘Tidal’).
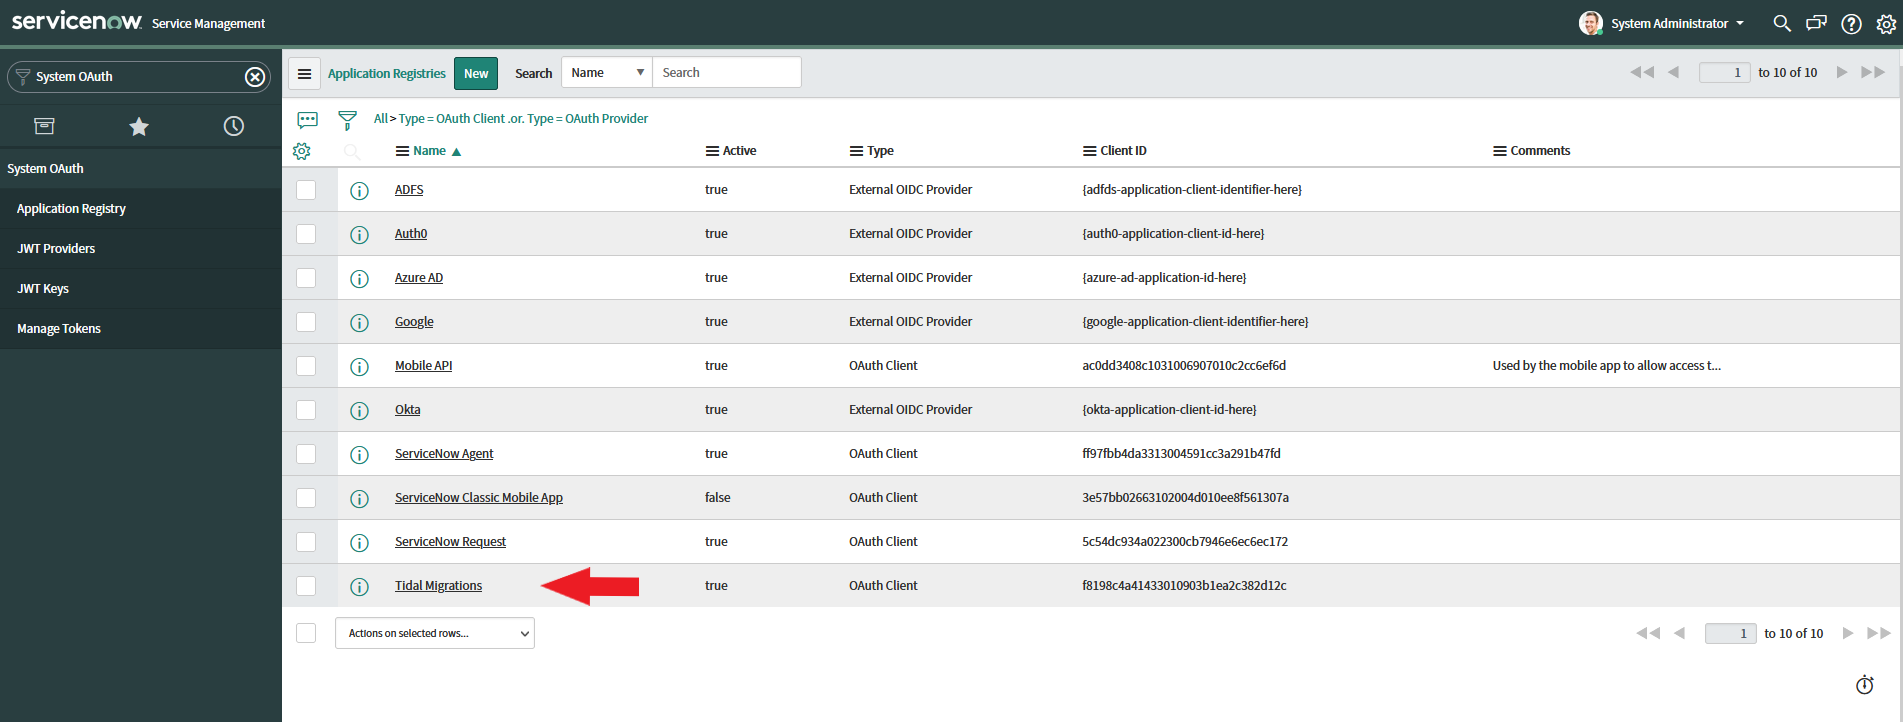
- From this screen, take note of:
- Client ID
- Client Secret
- You’re now ready to head over to your Tidal workspace and set up your integration!
Integrating your Tidal workspace with ServiceNow
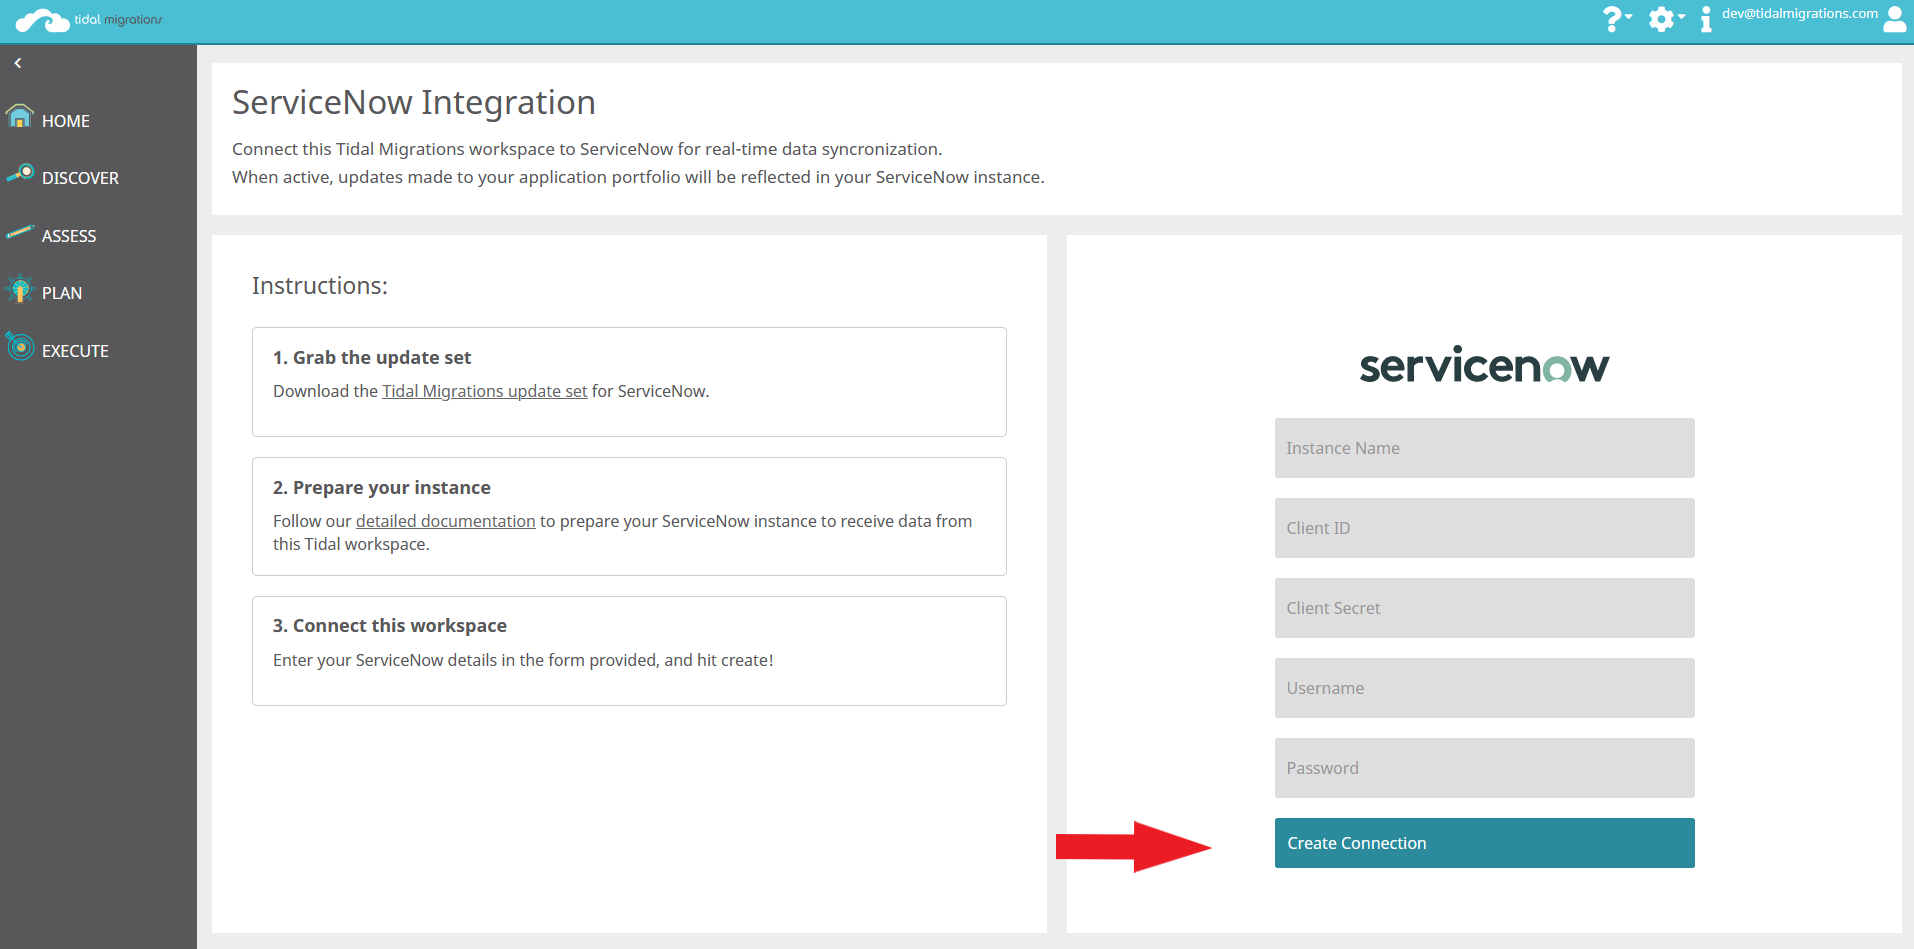
- Log into your Tidal workspace and head to the ServiceNow integration page.
https://[your workspace].tidal.cloud/_/#/servicenow
- Enter the following information:
- Instance Name
- Client ID
- Client Secret
- Username
- Password
Note: The username and password here are for your ServiceNow instance. If you don’t know them, go to the ServiceNow developer page and find ‘Manage instance password’.
-
Hit ‘Create Connection’ to connect this workspace to your ServiceNow instance. This action will automatically push all of your current apps, servers and databases over to your ServiceNow instance.
-
Return to ServiceNow and find your data under the Tidal -> ‘Applications’, ‘Servers’ and ‘Databases’ tables.
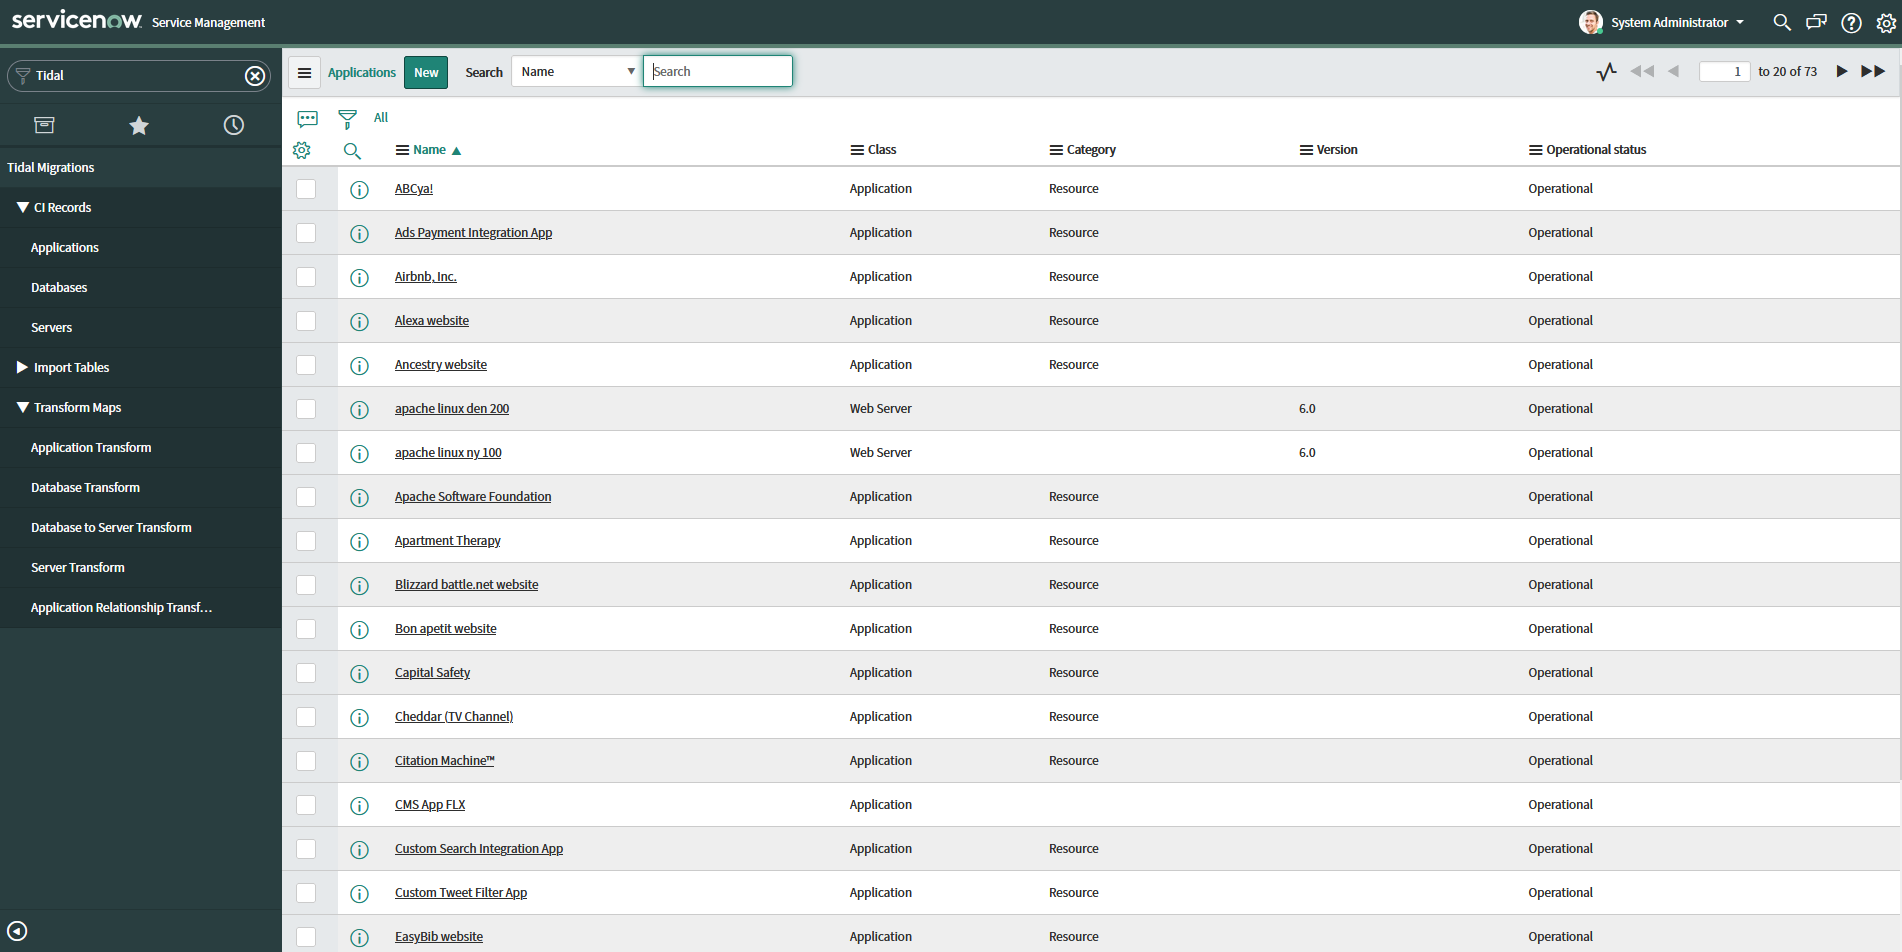
From this point on, any changes made to your Tidal workspace will be automatically synced over to your ServiceNow instance.