Migration Waves
Migration waves help you organize and execute your cloud migration in manageable, logical groups of related resources. By grouping applications, servers, and database instances that should move together, you can ensure dependencies are maintained and risks are reduced. These strategic waves allow you to break down large migration projects into smaller, coordinated moves that can be planned and executed efficiently.
Prerequisites
Migration waves exist in projects, and function as a way to break a large project down into logical chunks. In order to proceed, you should first create a project in your workspace. For guidance on how to create a project, see creating a project.
Creating migration waves
To create a migration wave, first navigate to the project where you’d like to create this wave.
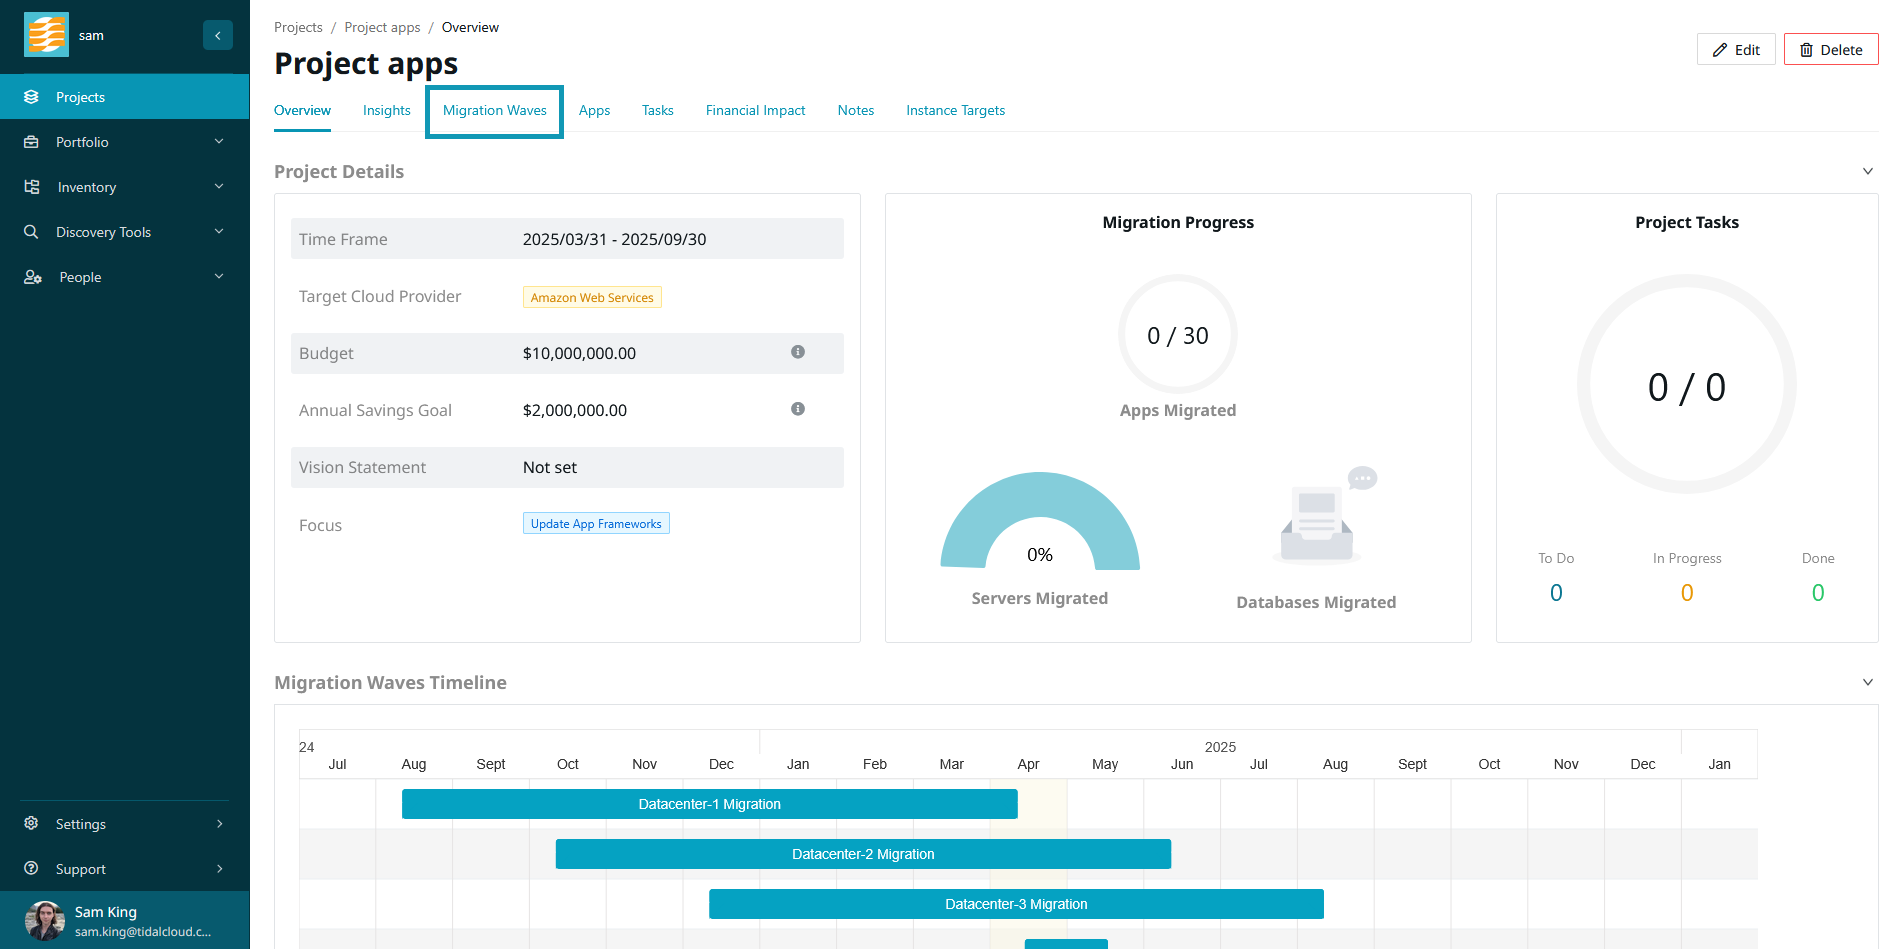
On the project page, you should see a tab called “Migration Waves”.
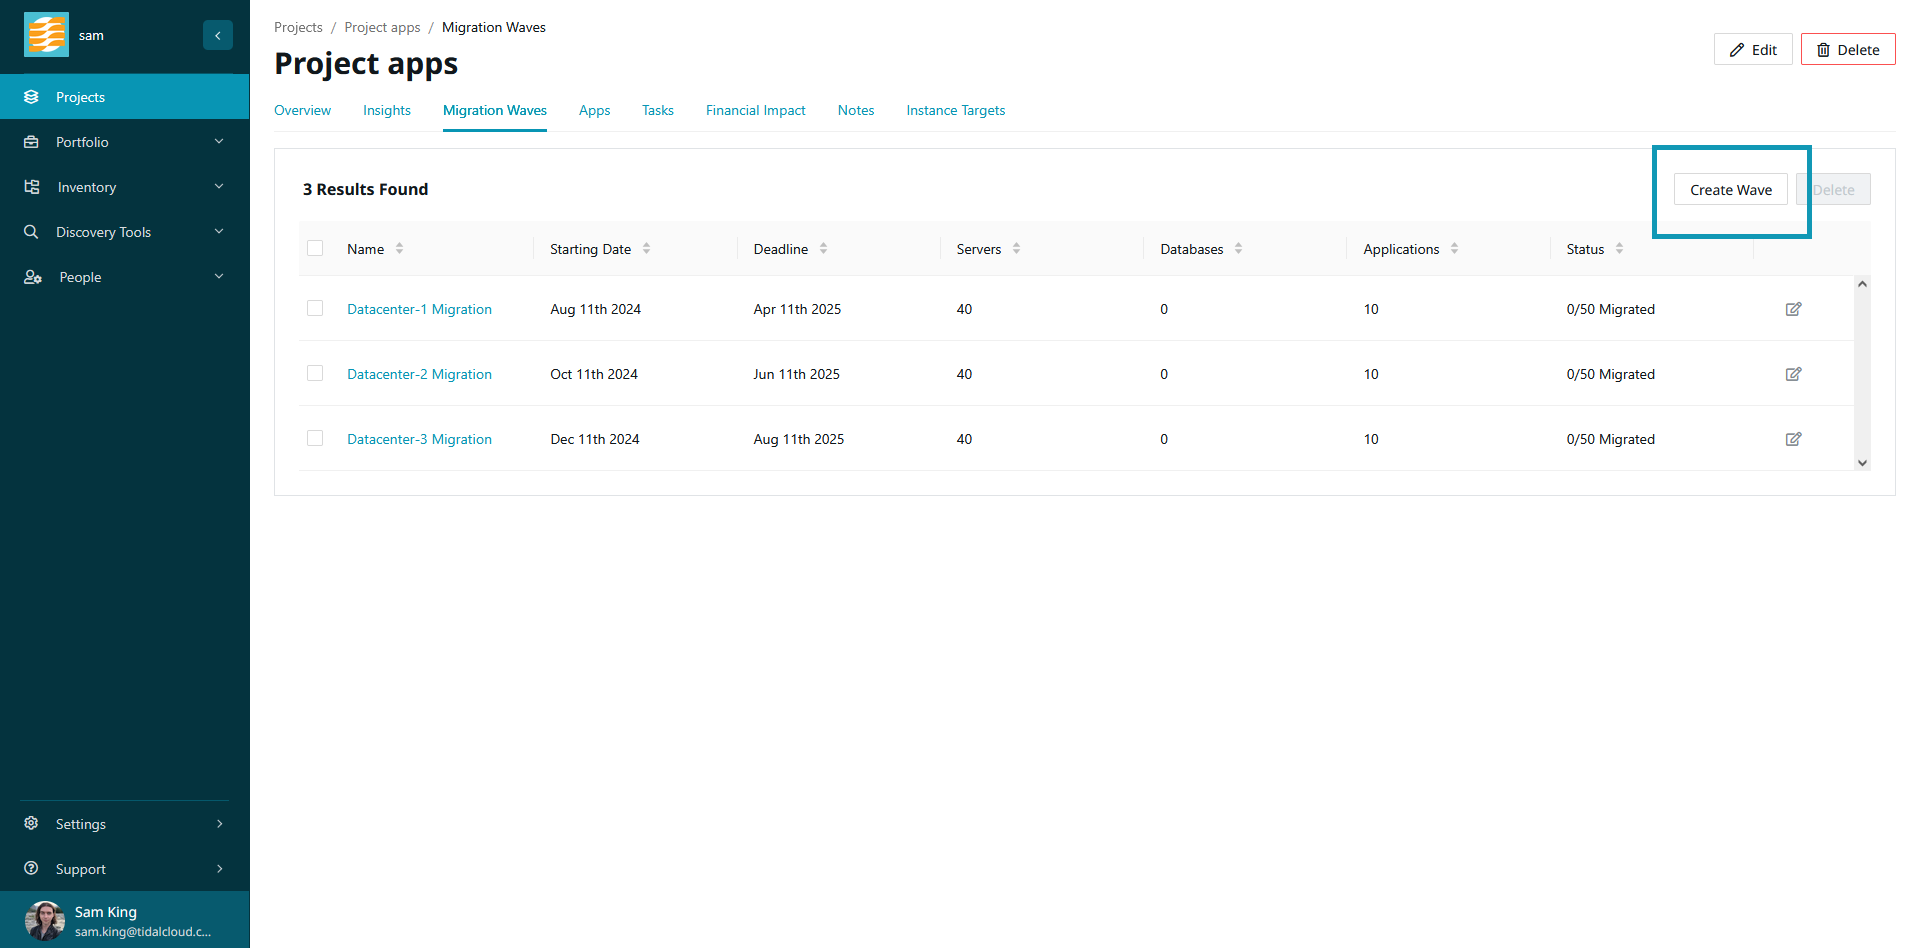
In this tab, you will see all existing waves of this project. To create a new wave, click “Create Wave”.
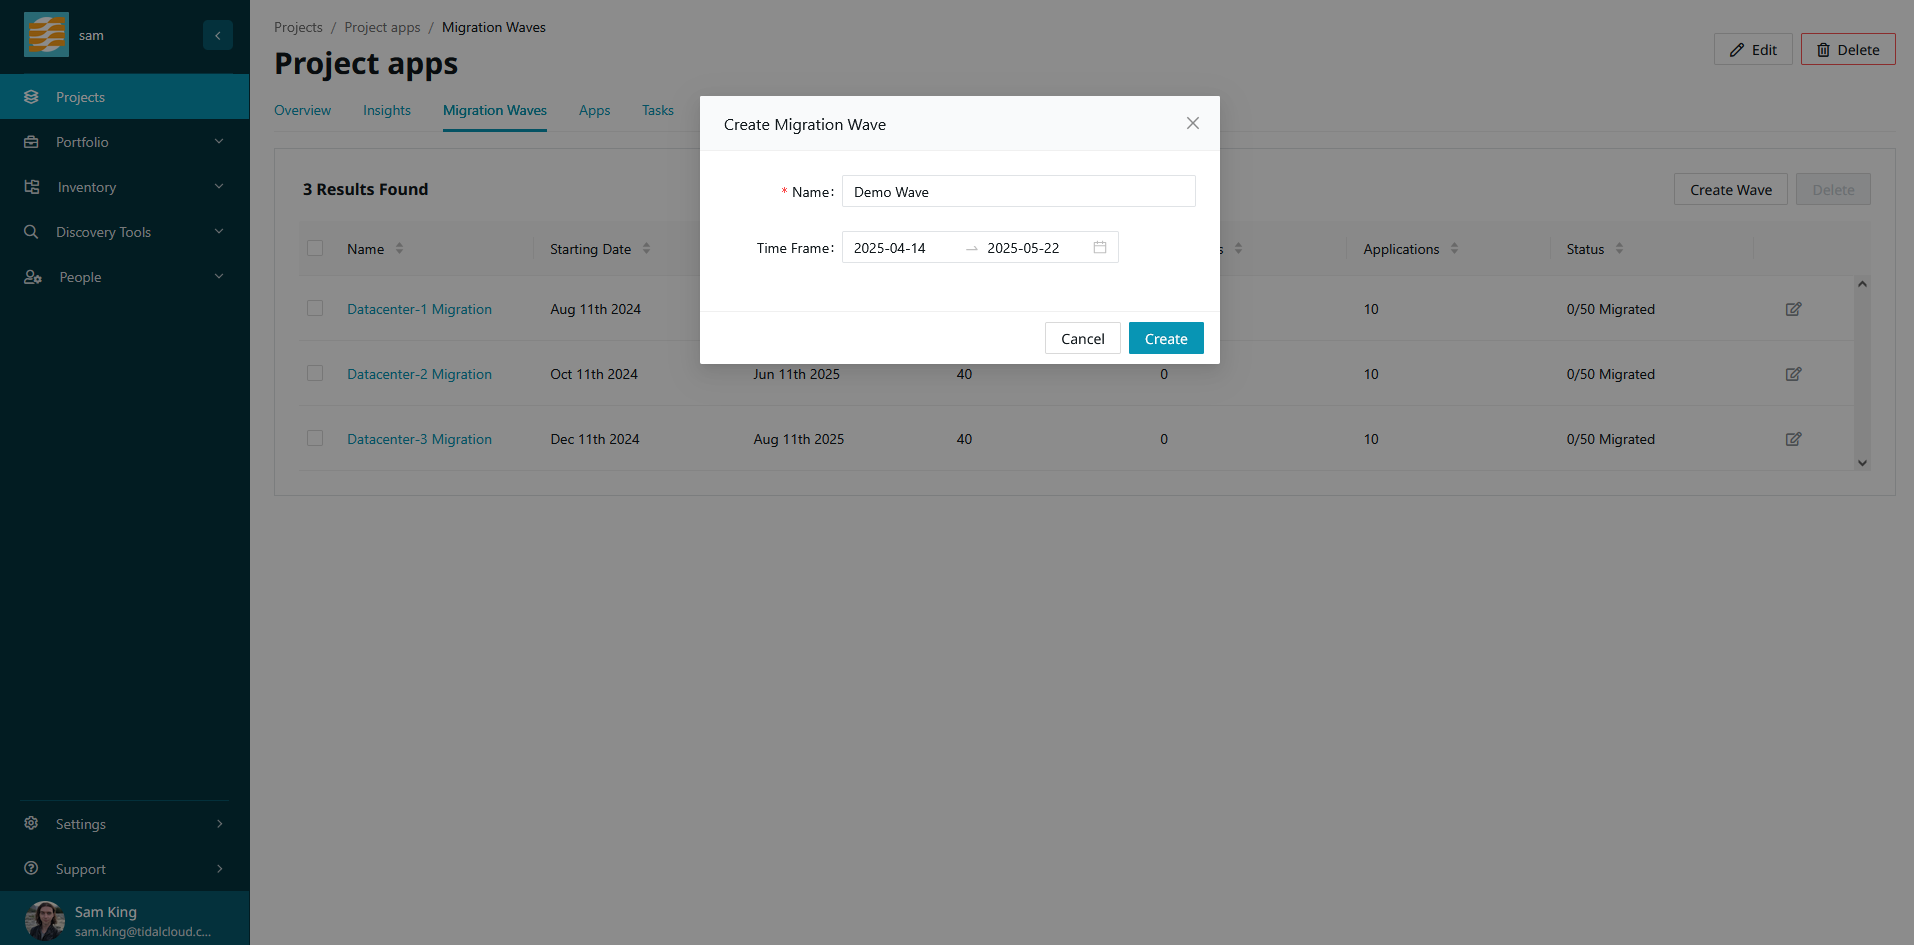
Enter a name and - optionally - a time frame for the migration wave.
After the migration wave is created, it should appear in the table. You are now ready to assign some resources to this wave.
Assigning Resources to a Migration Wave
From the “Migration Waves” project tab, click the name of the wave you’d like to assign resources to. You will see an overview of the migration wave, as well as tabs for applications, servers and database instances.
The process for assigning resources to a wave is the same across all resource types. For this guide, we will assign some applications to the migration wave.
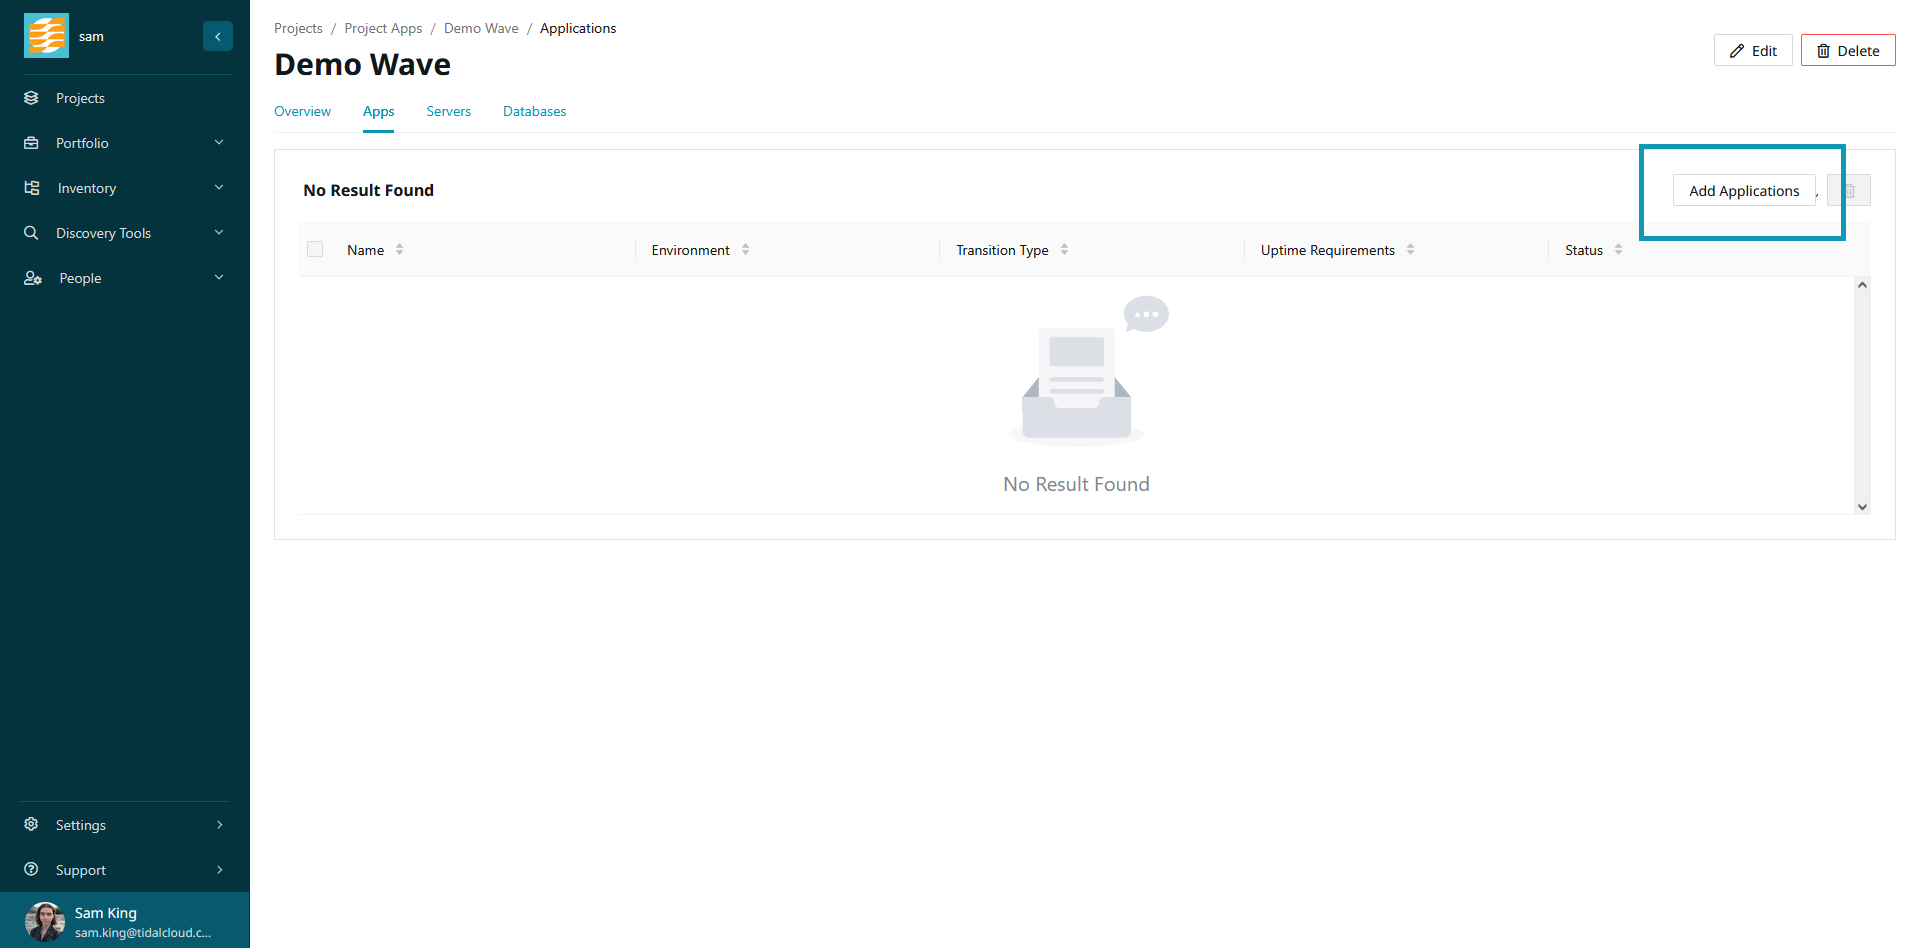
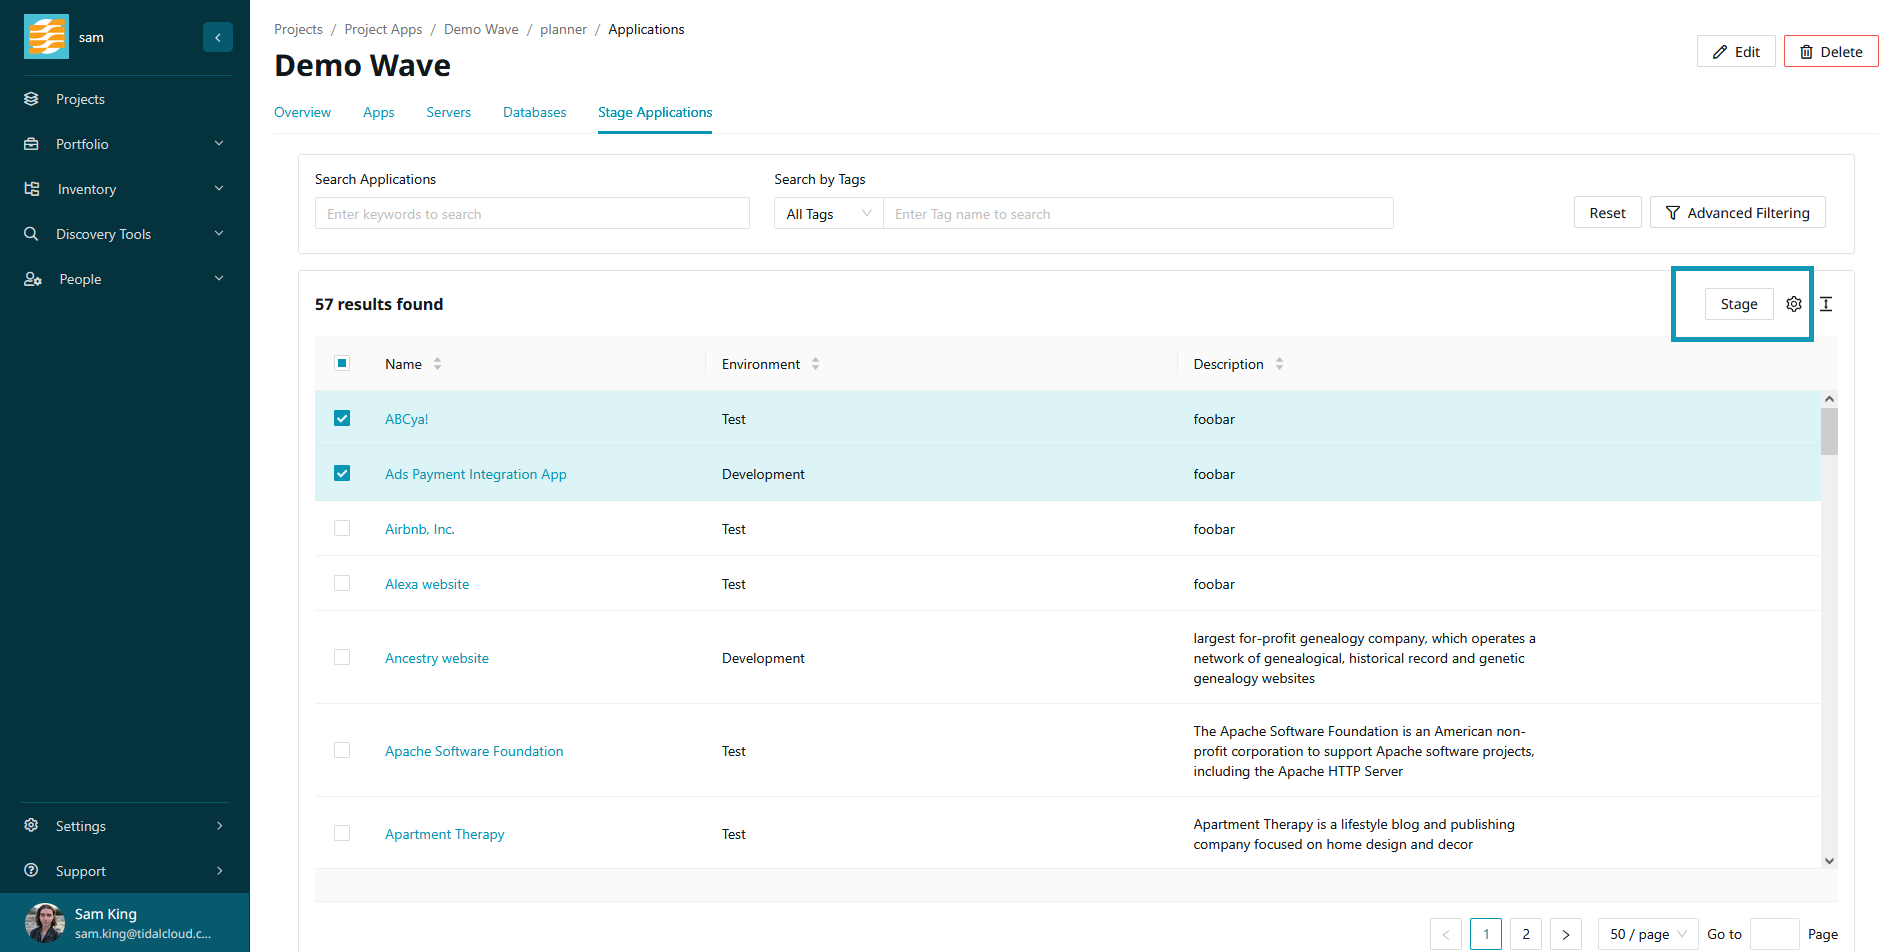
Click on the “Apps” tab of your migration wave. You should see a table with the button “Add Applications”.
After clicking this button, you will be taking to a staging view. Here you can select which applications you’d like to assign to the wave. You can search your applications by name or tag, then make your selection by using the checkboxes in the application table. Once you’ve made your selection, click “Stage”.
The purpose of a migration wave is to allow you to define groups of resources which make logical sense to migrate together. for example - if you choose to migrate a given application, it makes sense to also include that application’s servers and database instances in the same migration wave.
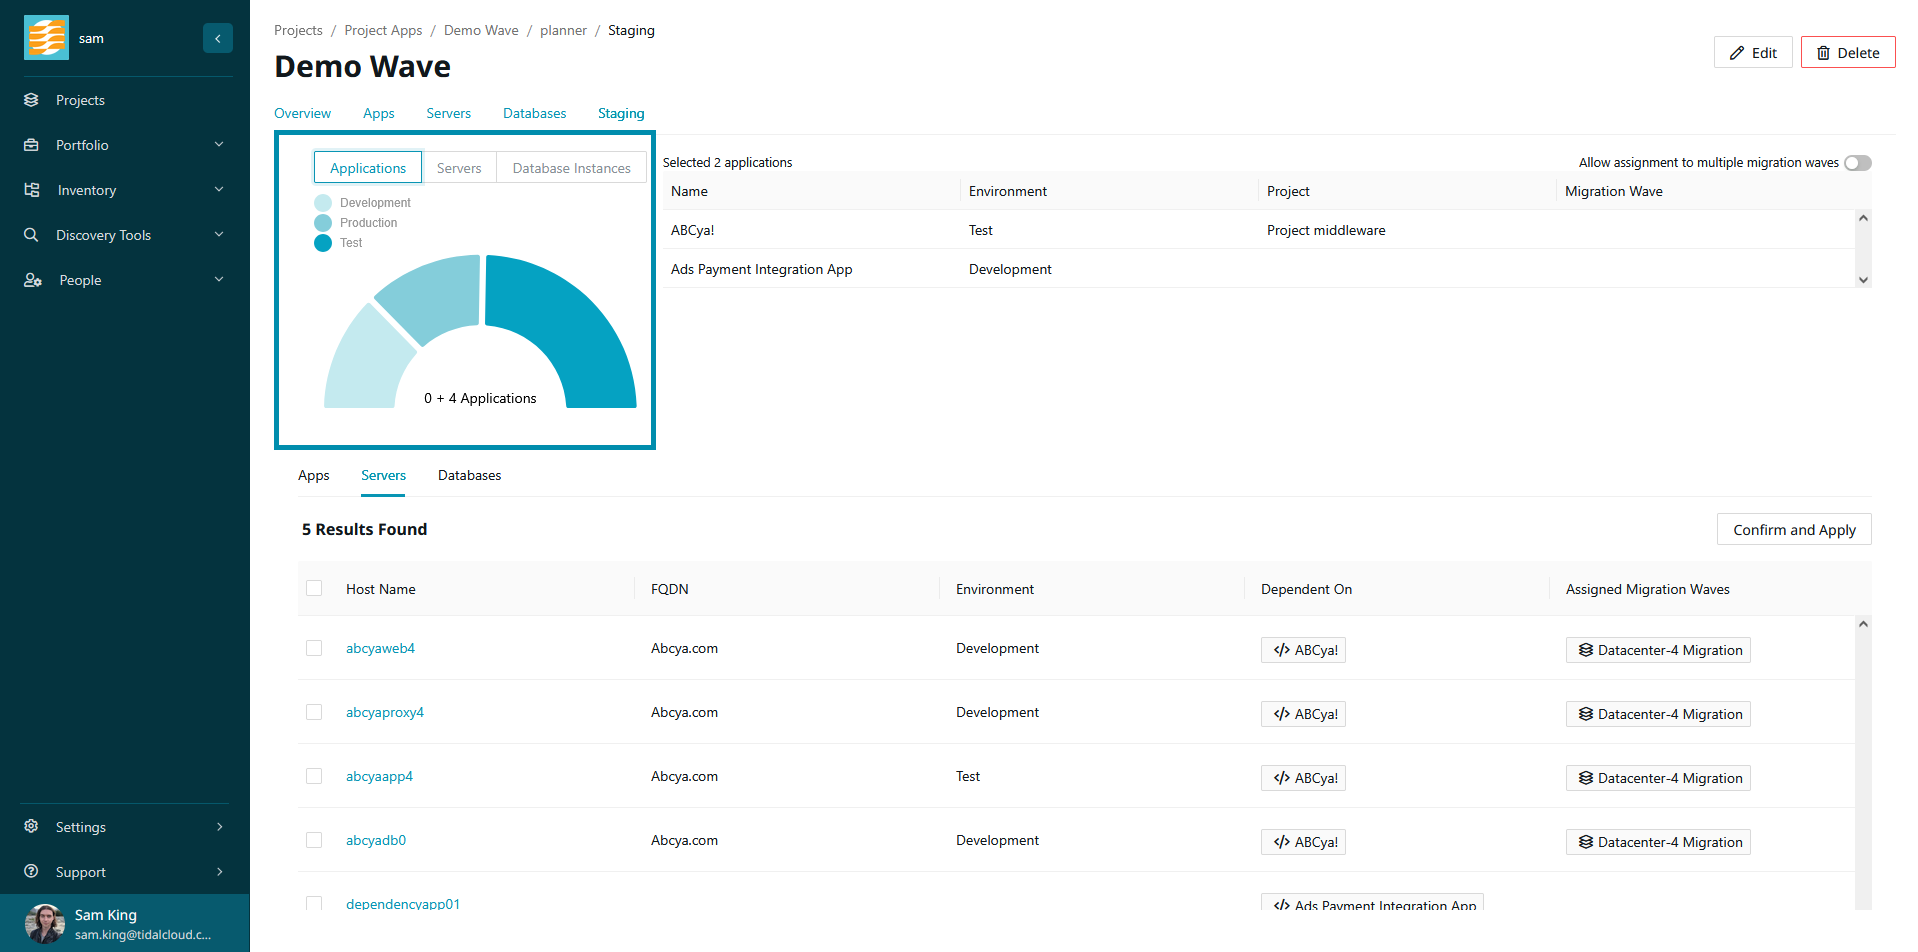
That’s why, in our migration planner, we’ve made it easy to discover related resources to the currently staged and previously committed records. The planner can be divided into three sections:
-
Changes that are going to be made both with the currently staged items and the selected related resources. We display the total change to the migration wave by resource type and environment.
-
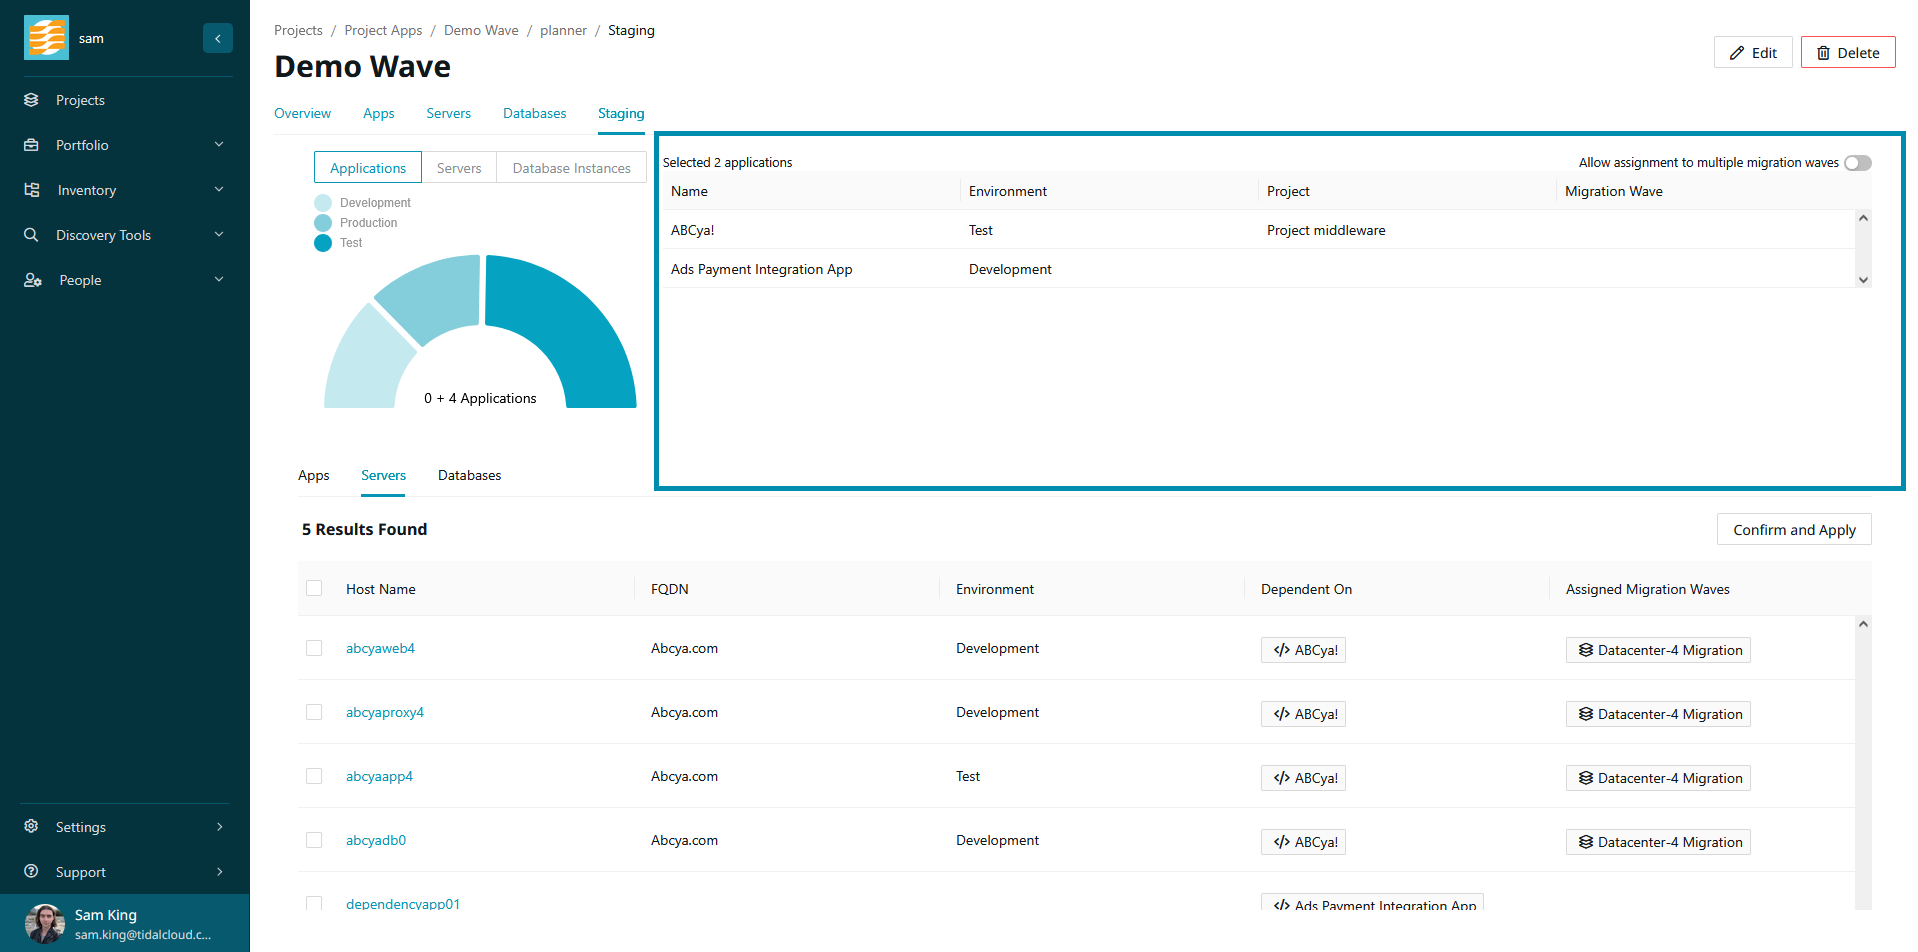
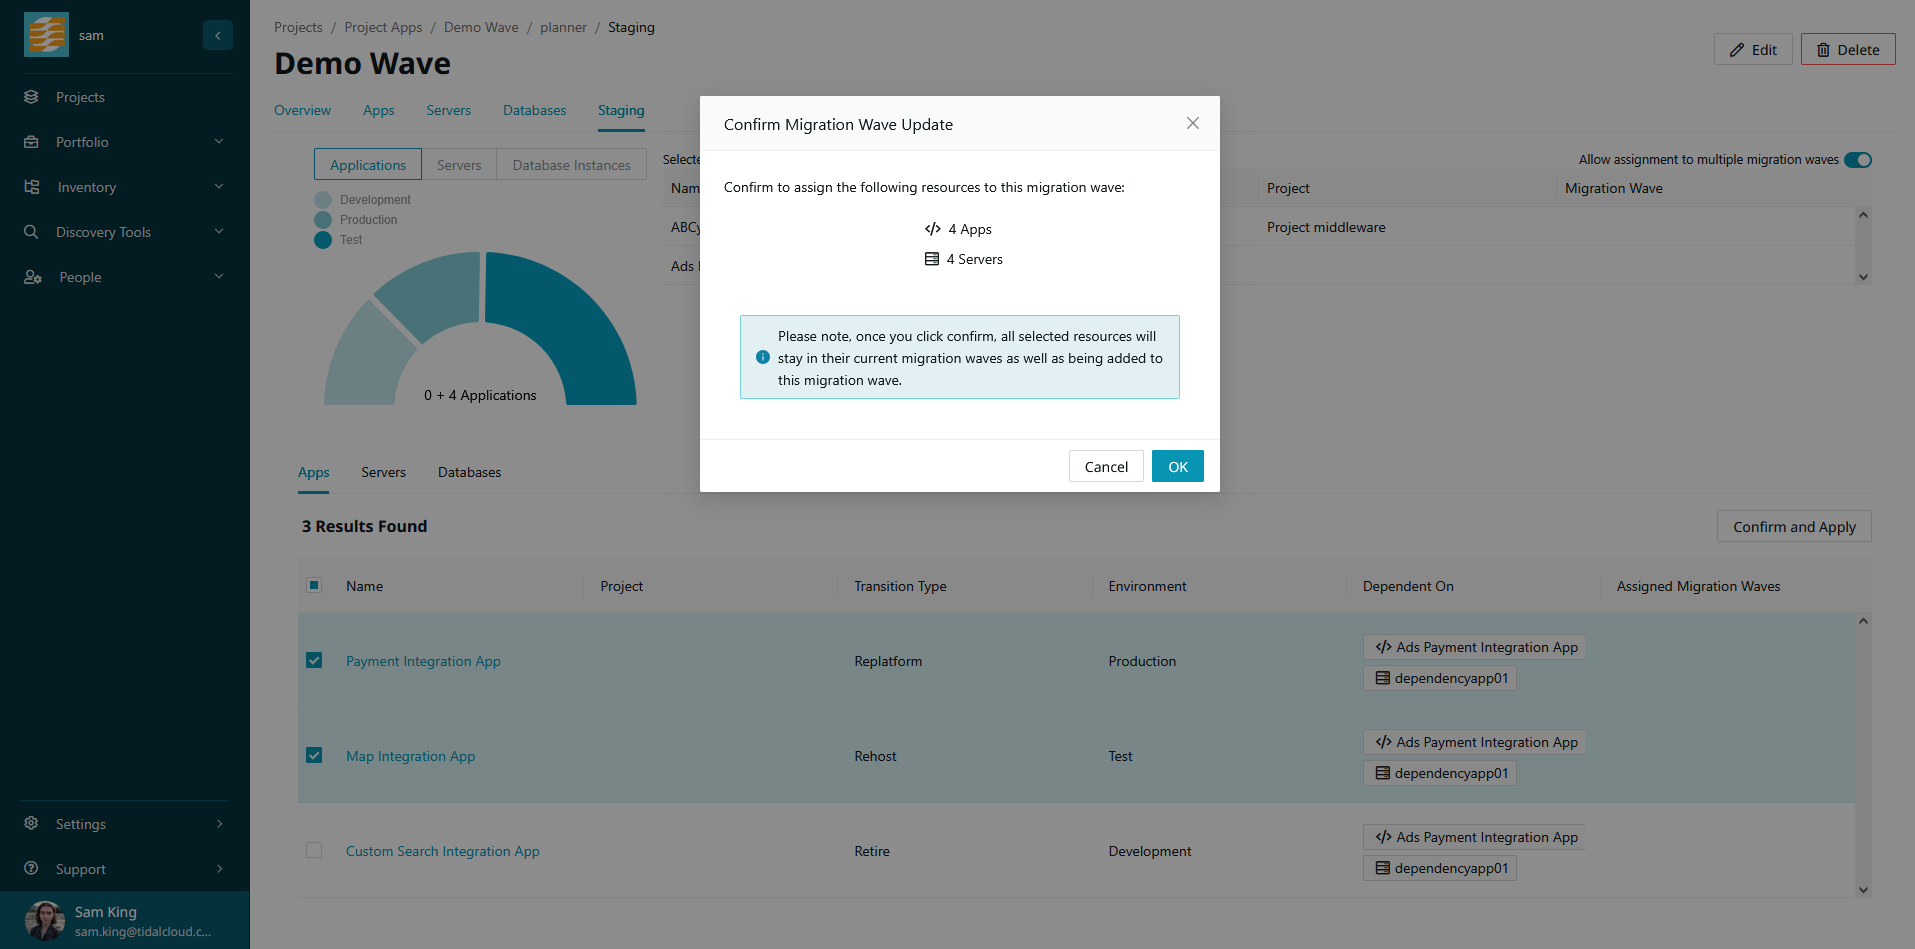
A table displaying the parent resources which you initially selected. Here you’ll also find a toggle which allows resources to be committed to multiple migration waves. By default, it is not possible to stage resources which are already in other migration waves. This is because in most cases, having a record spread across multiple migration waves is unnecessary and confusing. However, there are cases when a record needs to be staged across multiple waves, so we give you the escape hatch through this button.
-
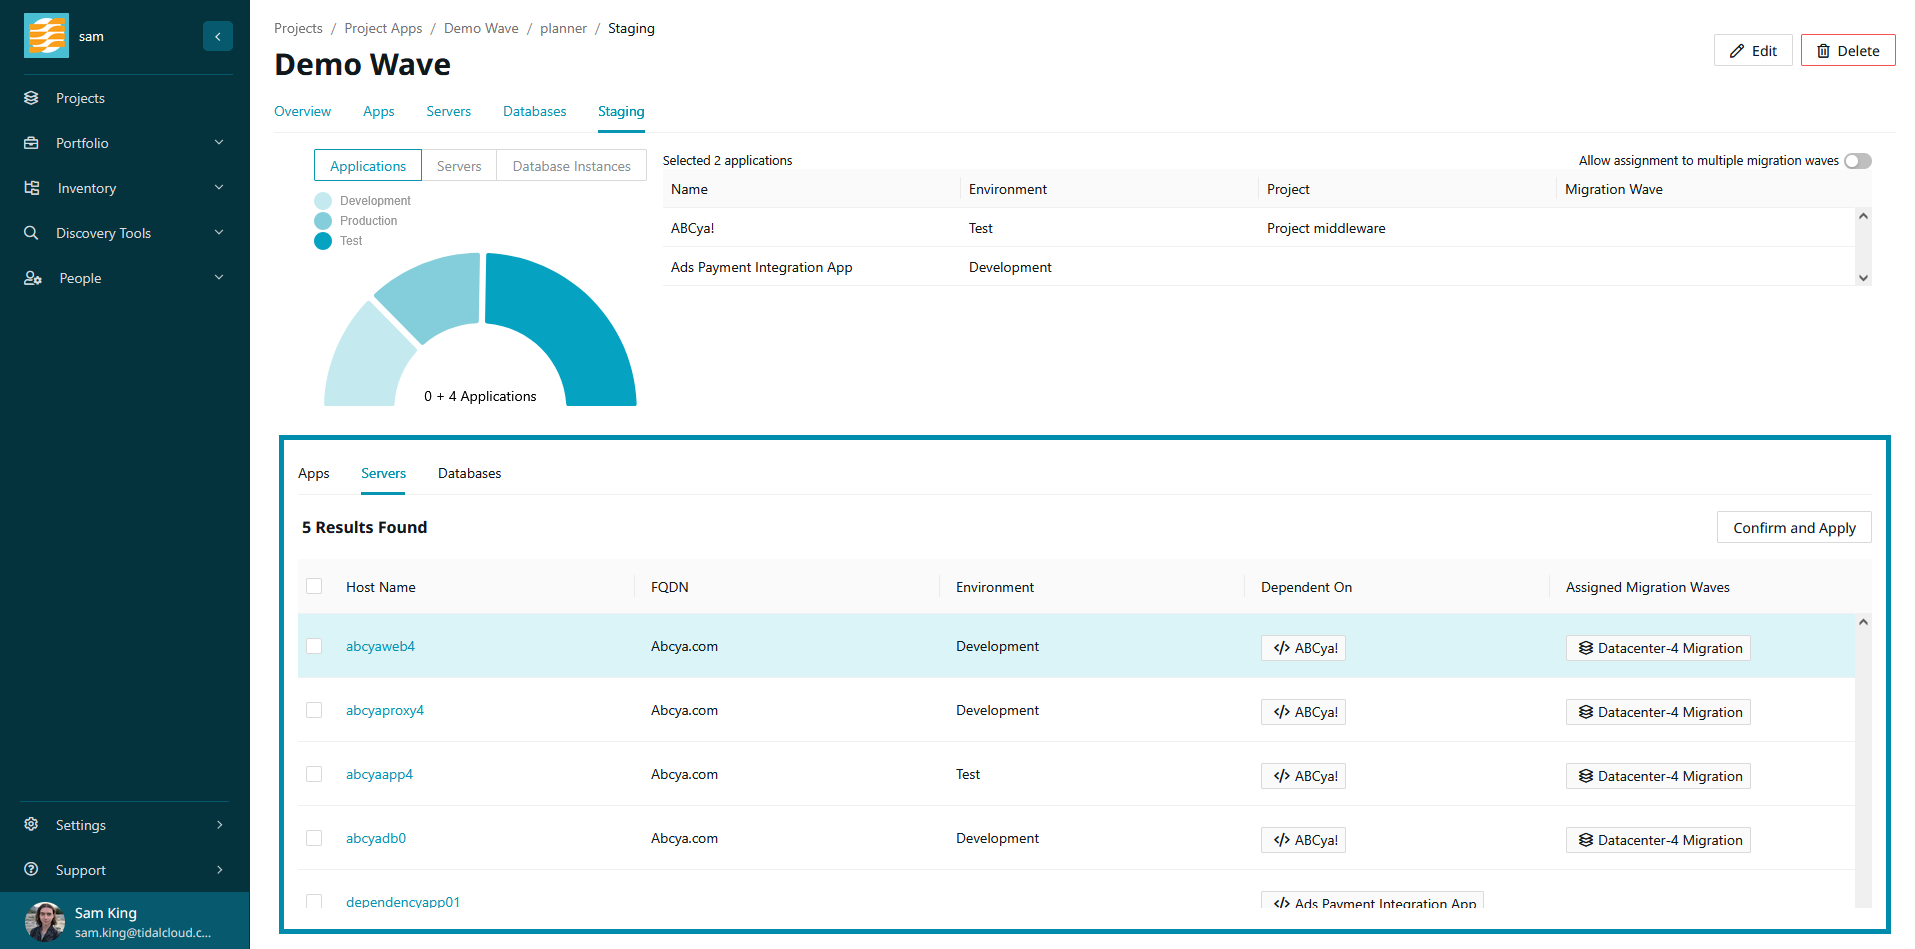
Along the bottom of the page, you’ll find a table where you can toggle across each primary record type and see all the dependant resources of the currently staged and previously committed records. This table will also explain why the resource was suggested, as seen in the “Dependent On” column.
Once you have selected any dependant resources that you’d like to add to the migration wave, select “Confirm and Apply”. You will be shown a confirmation message outlining the resources which you’re about to add to the migration wave. If you are satisfied, click “OK”.
You will now find that your selected resources have been added to the migration wave.